Low-light photography can be challenging, but with the right techniques, you can capture stunning images without relying on flash. Flash can often create harsh lighting, unnatural shadows, and unwanted reflections. Instead, learning how to work with available light will help you achieve natural, atmospheric, and high-quality images.
In this guide, we’ll explore essential tips to improve your low-light photography and get sharp, well-exposed shots without using flash.
1. Use a Wide Aperture for More Light
Aperture controls how much light enters the camera lens. A wide aperture (low f-number like f/1.8 or f/2.8) allows more light to reach the sensor, making it perfect for low-light conditions.
How to Apply It:
- Use a prime lens (e.g., 50mm f/1.8) for better low-light performance.
- In your camera settings, select the lowest f-stop available.
- Be mindful that a wide aperture creates a shallow depth of field, so focus carefully.
2. Increase ISO for Better Light Sensitivity
ISO determines how sensitive your camera sensor is to light. Increasing ISO allows you to shoot in darker environments, but too high an ISO can introduce noise (graininess).
Best ISO Settings for Low-Light Photography:
- ISO 400-800 – For dimly lit interiors with some artificial lighting.
- ISO 800-1600 – For nighttime cityscapes or concerts.
- ISO 3200+ – For extremely dark environments (use with noise reduction in post-processing).
If using a smartphone, enable Night Mode to optimize ISO automatically.
3. Slow Down Your Shutter Speed for More Light
Shutter speed determines how long the camera sensor is exposed to light. A slower shutter speed allows more light in, but it can cause motion blur if not stabilized properly.
Recommended Shutter Speeds:
- 1/60s – 1/125s for handheld shots.
- 1/10s – 1/30s if using a tripod.
- 5-30 seconds for night landscapes, light trails, and star photography.
If shooting handheld, use image stabilization or lean against a surface for extra support.
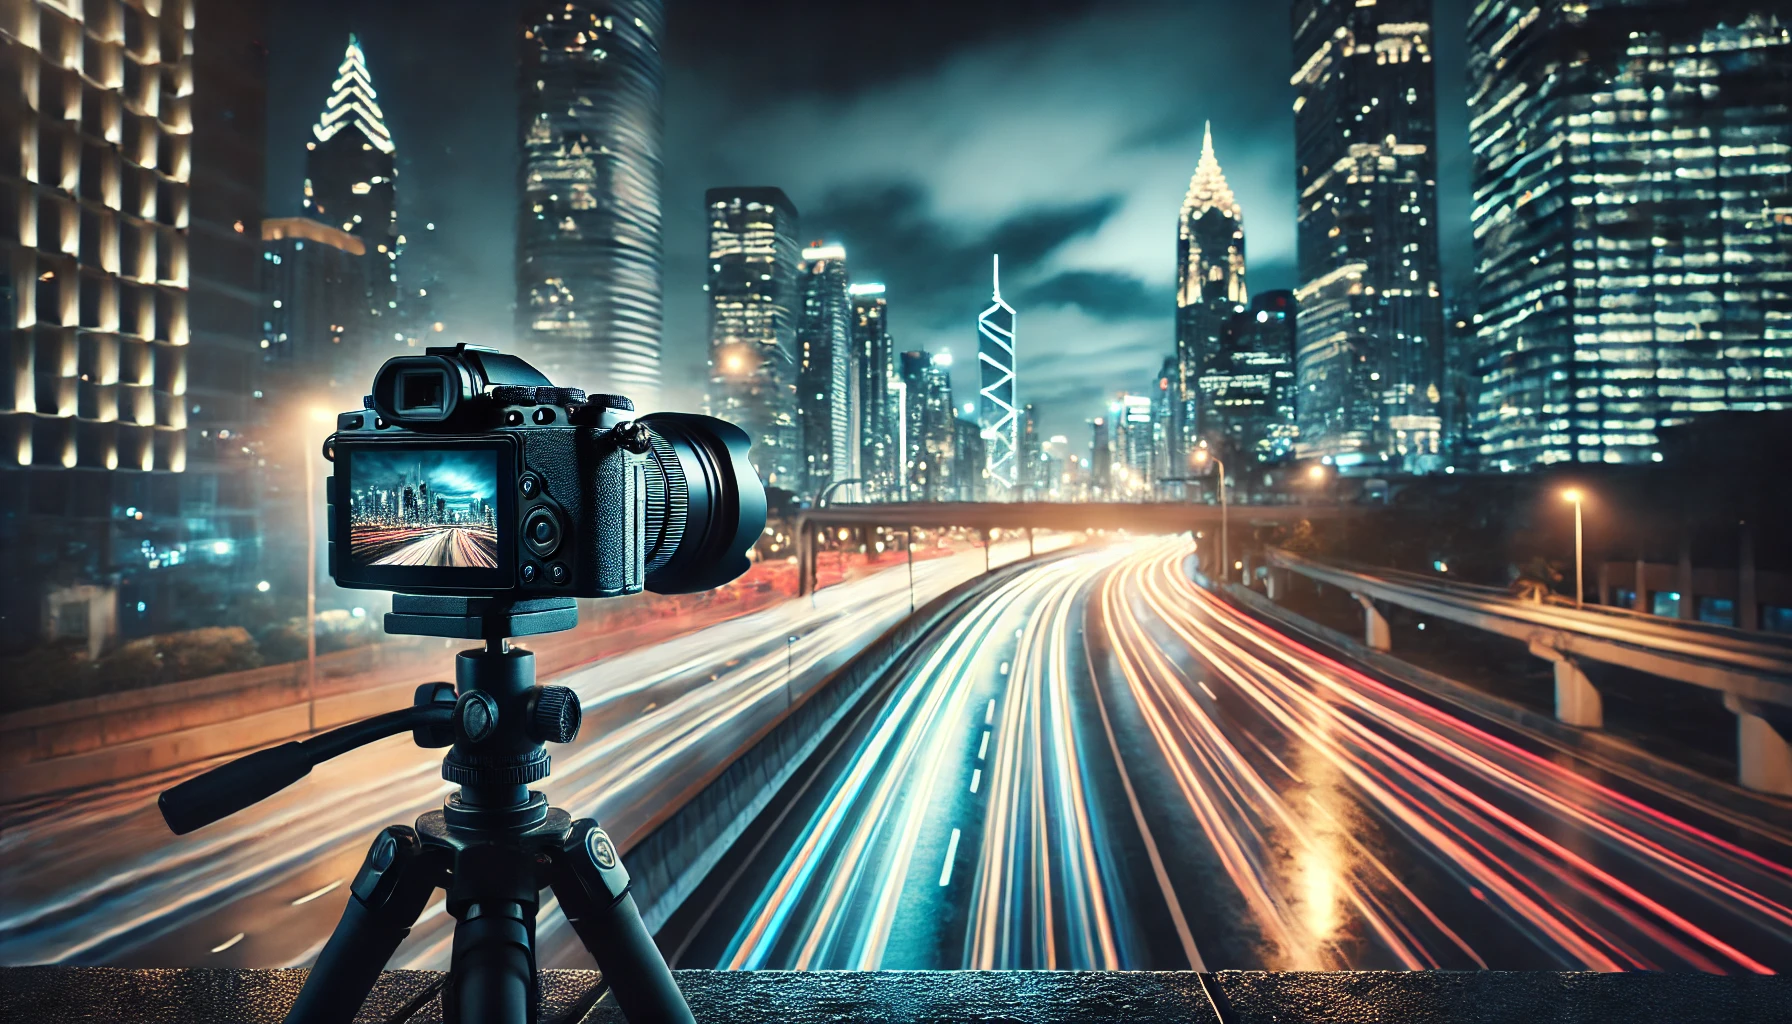
4. Use a Tripod for Sharp, Stable Shots
A tripod is one of the most valuable tools for low-light photography. It stabilizes your camera, allowing you to use longer exposures without motion blur.
Benefits of Using a Tripod:
- Allows for long exposure shots without shaking.
- Helps in star photography, cityscapes, and light trails.
- Works great for HDR and time-lapse photography.
If you don’t have a tripod, try placing your camera on a stable surface like a wall or table.
5. Utilize Available Light Sources
Since flash isn’t being used, look for natural or artificial light sources in the environment.
Where to Find Light in Low-Light Situations:
- Streetlights for dramatic urban photography.
- Neon signs for colorful compositions.
- Candlelight or fireplaces for a warm, cozy effect.
- Car headlights or passing vehicles for creative motion blur.
Position your subject near these light sources for better exposure and natural-looking illumination.
6. Use Manual Focus for Better Accuracy
Autofocus struggles in dark environments, leading to blurry or out-of-focus shots. Switching to manual focus can help you get sharper results.
Tips for Focusing in Low Light:
- Use your camera’s focus peaking feature if available.
- Zoom in on your subject (if using a mirrorless or DSLR) to adjust focus manually.
- If using a smartphone, tap the screen where you want to focus and lock it.
7. Experiment with Long Exposure for Creative Effects
Long exposure photography is perfect for capturing light trails, cityscapes, and starry skies.
How to Achieve Long Exposure Shots:
- Set shutter speed to 5-30 seconds for smooth motion effects.
- Use a remote shutter release or self-timer to prevent camera shake.
- Try light painting by moving a small light source during a long exposure.
This technique is great for night photography, waterfalls, and astrophotography.
8. Adjust White Balance for Better Colors
Low-light conditions can cause unnatural color tones. Adjusting white balance ensures accurate colors.
Best White Balance Settings for Low-Light Scenes:
- Tungsten (3200K) – Reduces yellowish indoor lighting.
- Fluorescent (4000K) – Balances cool artificial lighting.
- Daylight (5000K-6500K) – Good for streetlights and urban scenes.
- Custom WB – Manually adjust for mixed lighting conditions.
Most editing software allows white balance correction in post-processing.
9. Use HDR Mode for Better Dynamic Range
HDR (High Dynamic Range) photography captures multiple exposures and combines them for more balanced lighting. Many smartphones and cameras have Auto HDR mode.
When to Use HDR in Low Light:
- Scenes with bright lights and dark shadows (e.g., cityscapes).
- Indoor shots with window light contrast.
- Night scenes with multiple light sources.
HDR helps maintain details in both highlights and shadows.
10. Edit Your Photos to Enhance Low-Light Shots
Post-processing can help improve exposure, reduce noise, and enhance details.
Best Editing Apps for Low-Light Photos:
- Adobe Lightroom – Adjusts exposure, contrast, and noise reduction.
- Snapseed – Great for quick edits on mobile.
- Photoshop – Advanced noise reduction and sharpening tools.
Editing Tips for Low-Light Photography:
- Increase brightness and contrast to reveal details.
- Reduce noise using the noise reduction tool.
- Sharpen edges to improve clarity without over-processing.
Final Thoughts
Capturing stunning low-light photos without flash is all about mastering the right settings, stabilizing your camera, and using available light creatively. By adjusting aperture, shutter speed, and ISO, along with using tripods and post-processing, you can achieve professional-quality results in dim environments.
Keep practicing, experiment with different lighting conditions, and develop your unique low-light photography style.