Lighting is one of the most crucial elements in photography. Natural light, when used correctly, can transform ordinary scenes into breathtaking images. Unlike artificial lighting, natural light varies in intensity, color, and direction throughout the day, offering endless creative opportunities.
In this guide, we’ll explore how to harness natural light effectively to capture stunning photos in different conditions.
1. Understanding Natural Light in Photography
Natural light changes depending on the time of day, weather, and location. To make the most of it, you need to understand how light behaves in different scenarios.
The Qualities of Natural Light
- Soft Light – Diffused and even, great for portraits and landscapes. Found in the shade, on cloudy days, or during golden hour.
- Harsh Light – Strong and direct, creating deep shadows and high contrast. Common at midday when the sun is at its peak.
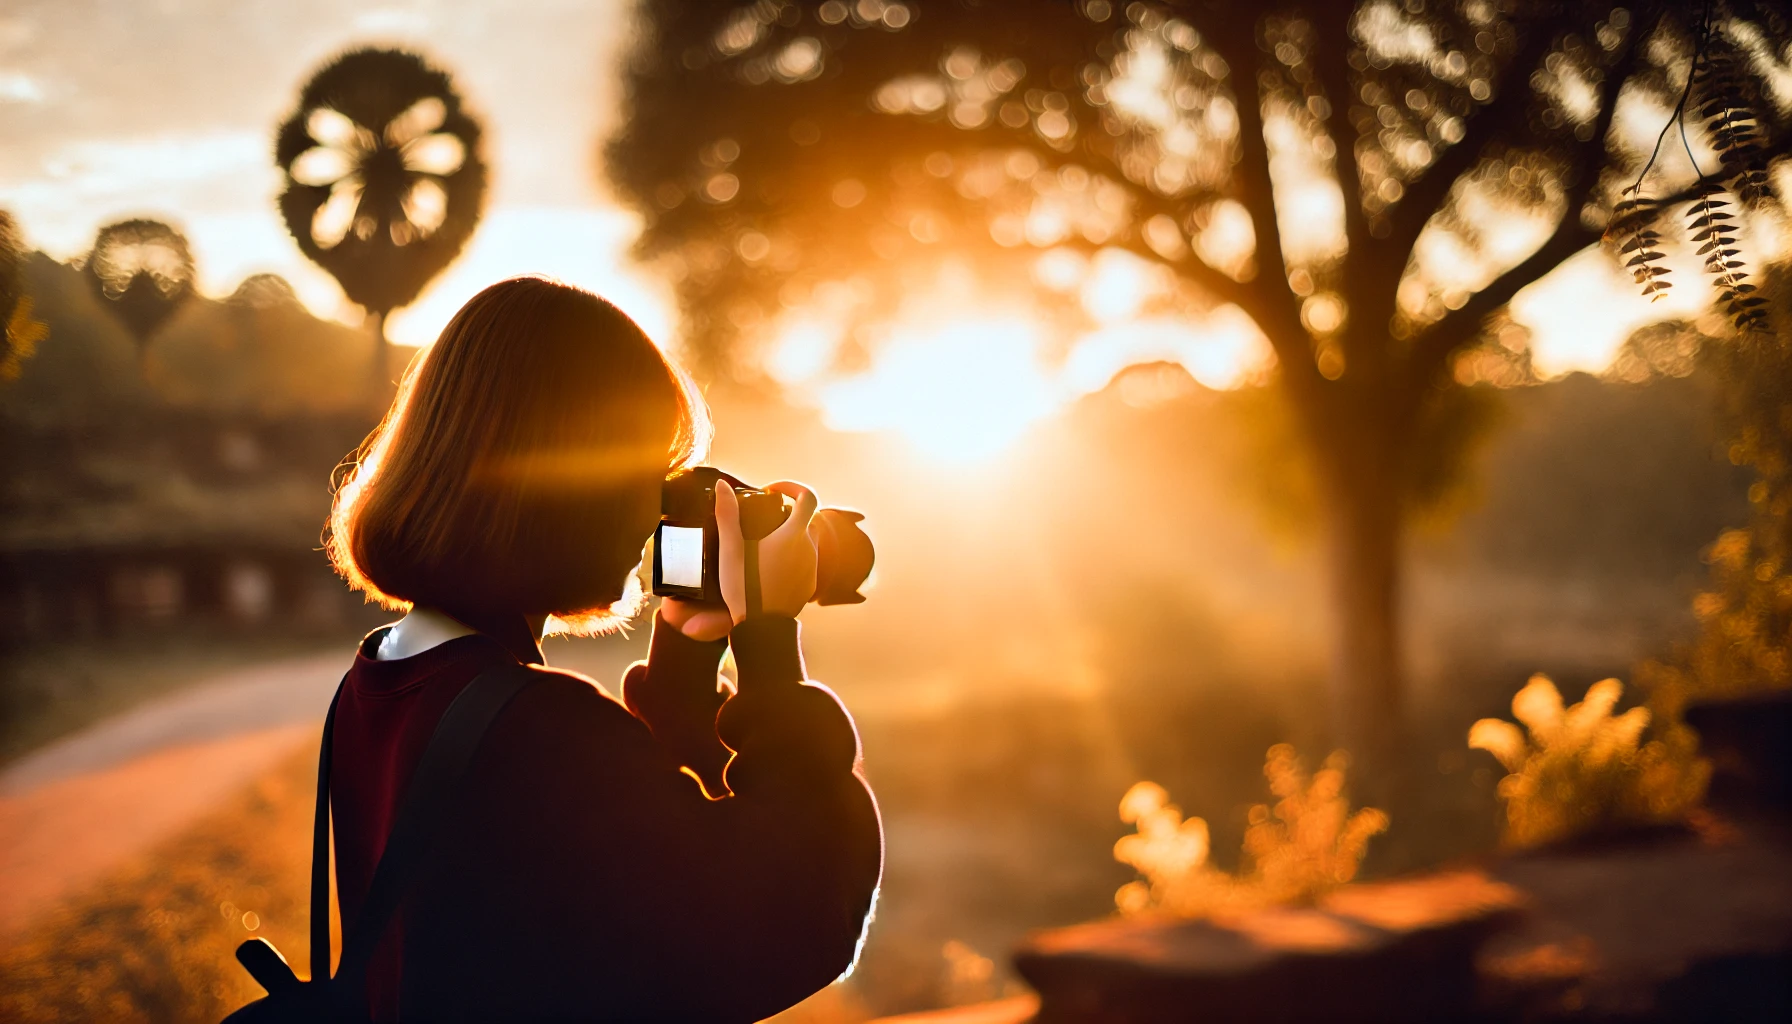
- Warm Light – Reddish and golden tones, typical during sunrise and sunset.
- Cool Light – Bluish tones, often seen in the shade or on overcast days.
By observing these qualities, you can choose the best lighting conditions for your subject.
2. The Best Times of Day for Photography
Golden Hour (Best Time for Photography)
- Occurs just after sunrise and before sunset.
- Produces soft, warm, and flattering light.
- Ideal for portraits, landscapes, and street photography.
Blue Hour (Magical and Dreamy Light)
- Happens just before sunrise and after sunset.
- Creates a cool, blue-toned atmosphere.
- Perfect for cityscapes, night photography, and moody shots.
Midday (Challenging but Creative)
- Sunlight is harsh and direct, creating strong shadows.
- Avoid shooting under direct sunlight unless you want high contrast effects.
- Use shade or reflectors to soften harsh shadows in portraits.
Overcast Days (Great for Even Lighting)
- Clouds act as a natural diffuser, creating soft and even light.
- Ideal for portraits, macro photography, and product photography.
- Avoid dull compositions by adding colorful elements to the frame.
3. How to Use Natural Light in Different Photography Styles
Portrait Photography
- Position your subject facing the light source for a well-lit face.
- Use backlighting (sun behind the subject) for a dramatic silhouette or soft glow.
- On harsh sunny days, shoot in shade or use a reflector to bounce light onto the face.
Landscape Photography
- Shoot during golden hour for warm, directional light.
- Capture long shadows and textures during early morning or late afternoon.
- On cloudy days, emphasize moody skies and soft lighting.
Street Photography
- Use strong midday shadows to create graphic compositions.
- Take advantage of reflections in glass and puddles to enhance the scene.
- Capture silhouettes during sunrise or sunset for dramatic effects.
Indoor Photography with Natural Light
- Place your subject near windows to use soft, indirect light.
- Use white curtains to diffuse harsh sunlight.
- Experiment with different times of the day to see how light changes inside.
4. How to Control and Modify Natural Light
Even though natural light is unpredictable, there are ways to control it for better results.
Use Reflectors to Fill Shadows
A reflector helps bounce light onto your subject, reducing harsh shadows. If you don’t have a professional reflector, you can use:
- A white wall or piece of paper.
- A mirror to direct sunlight.
- A silver or gold surface for different lighting effects.
Use Diffusers to Soften Harsh Light
A diffuser spreads the light evenly, reducing contrast. If shooting in harsh sunlight, you can use:
- A thin white sheet or fabric to filter the light.
- Clouds or tree branches as natural diffusers.
- A transparent umbrella to soften direct sunlight.
Adjust Camera Settings for Natural Light
- Lower ISO (100-200) to reduce noise.
- Adjust white balance to match the light conditions (Daylight, Shade, Cloudy).
- Use a wider aperture (f/2.8 – f/5.6) for softer backgrounds in portraits.
- Use a smaller aperture (f/8 – f/16) for sharp landscapes.
5. Creative Techniques with Natural Light
Backlighting for Silhouettes and Glow
Placing the light source behind your subject creates:
- Silhouettes – Dark shapes with bright backgrounds.
- Lens flares and sunbursts – Artistic light effects that add mood.
- A soft halo effect around your subject for dreamy portraits.
Golden Light for Warm and Emotional Photos
Golden light enhances skin tones, landscapes, and street scenes with warmth and depth.
Shadows and Contrast for Dramatic Images
Using shadows creatively can add mystery and dimension to your photos. Look for:
- Patterns from blinds or leaves.
- Long street shadows in urban photography.
- High-contrast black and white shots for artistic depth.
Using Reflections for Unique Compositions
Reflections can add interest to your photos when captured in:
- Water surfaces (lakes, puddles, and rivers).
- Glass windows and mirrors.
- Shiny metallic surfaces like cars or buildings.
Final Thoughts
Mastering natural light is one of the most powerful skills a photographer can develop. By understanding light’s direction, quality, and timing, you can transform your images from ordinary to extraordinary. Whether you’re shooting portraits, landscapes, or street scenes, learning to work with available light will elevate your photography skills.
Keep experimenting, observe how light changes throughout the day, and don’t be afraid to play with shadows, reflections, and silhouettes.