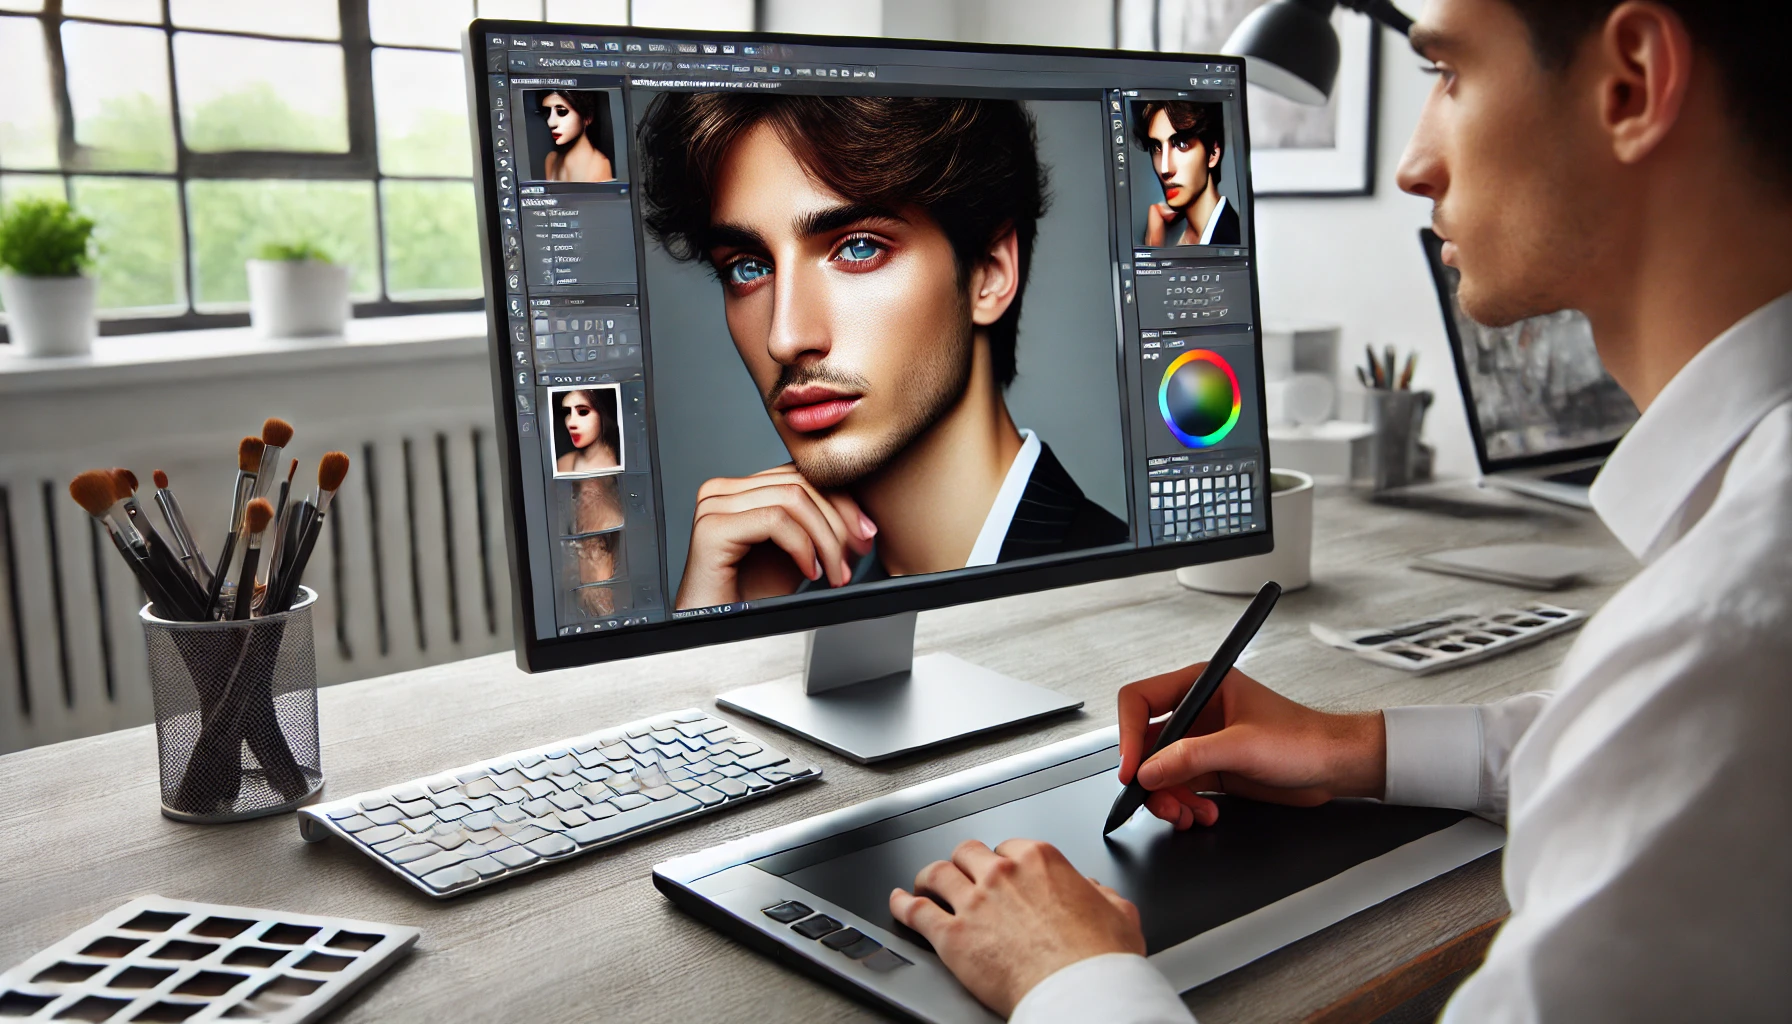
Portrait retouching is an essential skill for photographers who want to enhance skin tones, remove imperfections, and create natural yet polished images. The key to professional retouching is achieving a flawless look without making the subject appear artificial. Whether you’re editing in Adobe Photoshop, Lightroom, or Affinity Photo, following the right techniques will ensure high-quality results. In this guide, we’ll explore step-by-step methods to retouch portraits like a pro.
1. Start with a Clean Base – Adjust Exposure and White Balance
Before retouching skin or details, correct any exposure and color balance issues.
✅ Increase Shadows slightly for a softer look.
✅ Lower Highlights to avoid overly bright skin areas.
✅ Adjust White Balance for natural skin tones (avoid extreme warmth or coolness).
🔹 Best tools: Adobe Lightroom’s “Basic Panel”, Capture One’s “Color Balance Tool”.
2. Smooth Skin with Frequency Separation
Frequency Separation is a professional technique that separates skin texture from color and tones, allowing for precise edits without losing details.
✅ High-Frequency Layer: Contains skin texture (pores, fine lines).
✅ Low-Frequency Layer: Controls color and smoothness.
✅ Use a Soft Brush or Clone Stamp Tool to correct uneven skin tones.
🔹 Best tools: Adobe Photoshop’s “Frequency Separation Action”, Affinity Photo’s “High Pass Filter”.
3. Remove Blemishes with the Spot Healing Brush
To remove acne, scars, or small imperfections:
✅ Select the Spot Healing Brush or Clone Stamp Tool.
✅ Use a small, soft brush to blend the area naturally.
✅ Avoid excessive retouching to maintain realism.
🔹 Best tools: Adobe Photoshop’s “Spot Healing Brush”, Lightroom’s “Blemish Removal Tool”.
4. Enhance Eyes for a Sharp, Lively Look
Bright, sharp eyes bring portraits to life.
✅ Increase sharpness using a soft High-Pass Filter.
✅ Brighten the whites (but avoid making them pure white).
✅ Enhance the iris by increasing contrast and adding subtle color saturation.
🔹 Best tools: Adobe Photoshop’s “Dodge and Burn Tools”, Lightroom’s “Adjustment Brush”.
5. Whiten Teeth Without Overdoing It
A natural smile looks best with slight whitening and brightness adjustments.
✅ Reduce yellow tones using the HSL panel.
✅ Increase brightness slightly (but avoid making teeth glow unnaturally).
🔹 Best tools: Adobe Lightroom’s “Teeth Whitening Brush Preset”, Photoshop’s “Selective Color Adjustment”.
6. Add Volume and Shine to Hair
To make hair look fuller and more defined:
✅ Dodge (lighten) highlights for a shinier effect.
✅ Burn (darken) shadows for more depth.
✅ Use Curves Adjustments to enhance contrast.
🔹 Best tools: Photoshop’s “Dodge and Burn Tools”, Lightroom’s “Radial Filter”.
7. Use Dodge and Burn for Facial Contouring
Dodge (brightening) and Burn (darkening) techniques help shape the face naturally.
✅ Dodge areas like the forehead, cheekbones, and chin.
✅ Burn along jawlines, under the cheekbones, and sides of the nose.
✅ Use a soft, low-opacity brush for realistic results.
🔹 Best tools: Photoshop’s “Dodge and Burn Layers”, Capture One’s “Luma Curve Adjustments”.
8. Apply Subtle Color Grading for a Professional Look
Color grading can add warmth or coolness to fit the mood of the portrait.
✅ Use Split Toning to adjust highlights and shadows.
✅ Apply a soft film grain effect for a cinematic touch.
✅ Keep skin tones natural and consistent.
🔹 Best tools: Lightroom’s “Color Grading Panel”, Photoshop’s “Gradient Maps”.
9. Sharpen the Image Without Overdoing It
Sharpening enhances details without making the image look artificial.
✅ Use the High-Pass Filter set to Soft Light for precise sharpening.
✅ Apply Selective Sharpening only to eyes, lips, and hair.
🔹 Best tools: Photoshop’s “High-Pass Sharpening”, Lightroom’s “Detail Panel”.
10. Export with the Right Settings for Maximum Quality
Proper export settings ensure the best quality for print, web, or social media.
✅ For Print: TIFF format, 300dpi, AdobeRGB.
✅ For Web: JPEG format, sRGB, 80-100% quality.
✅ For Instagram: Resize to 2048px on the longest side to maintain detail.
🔹 Best tools: Lightroom’s “Export Presets”, Photoshop’s “Save for Web”.
Final Thoughts
Retouching portraits professionally requires patience, precision, and the right techniques. By mastering skin smoothing, blemish removal, eye enhancement, and color grading, you can create stunning, natural-looking portraits. The key is to enhance beauty without over-editing, keeping the subject’s features authentic and expressive.