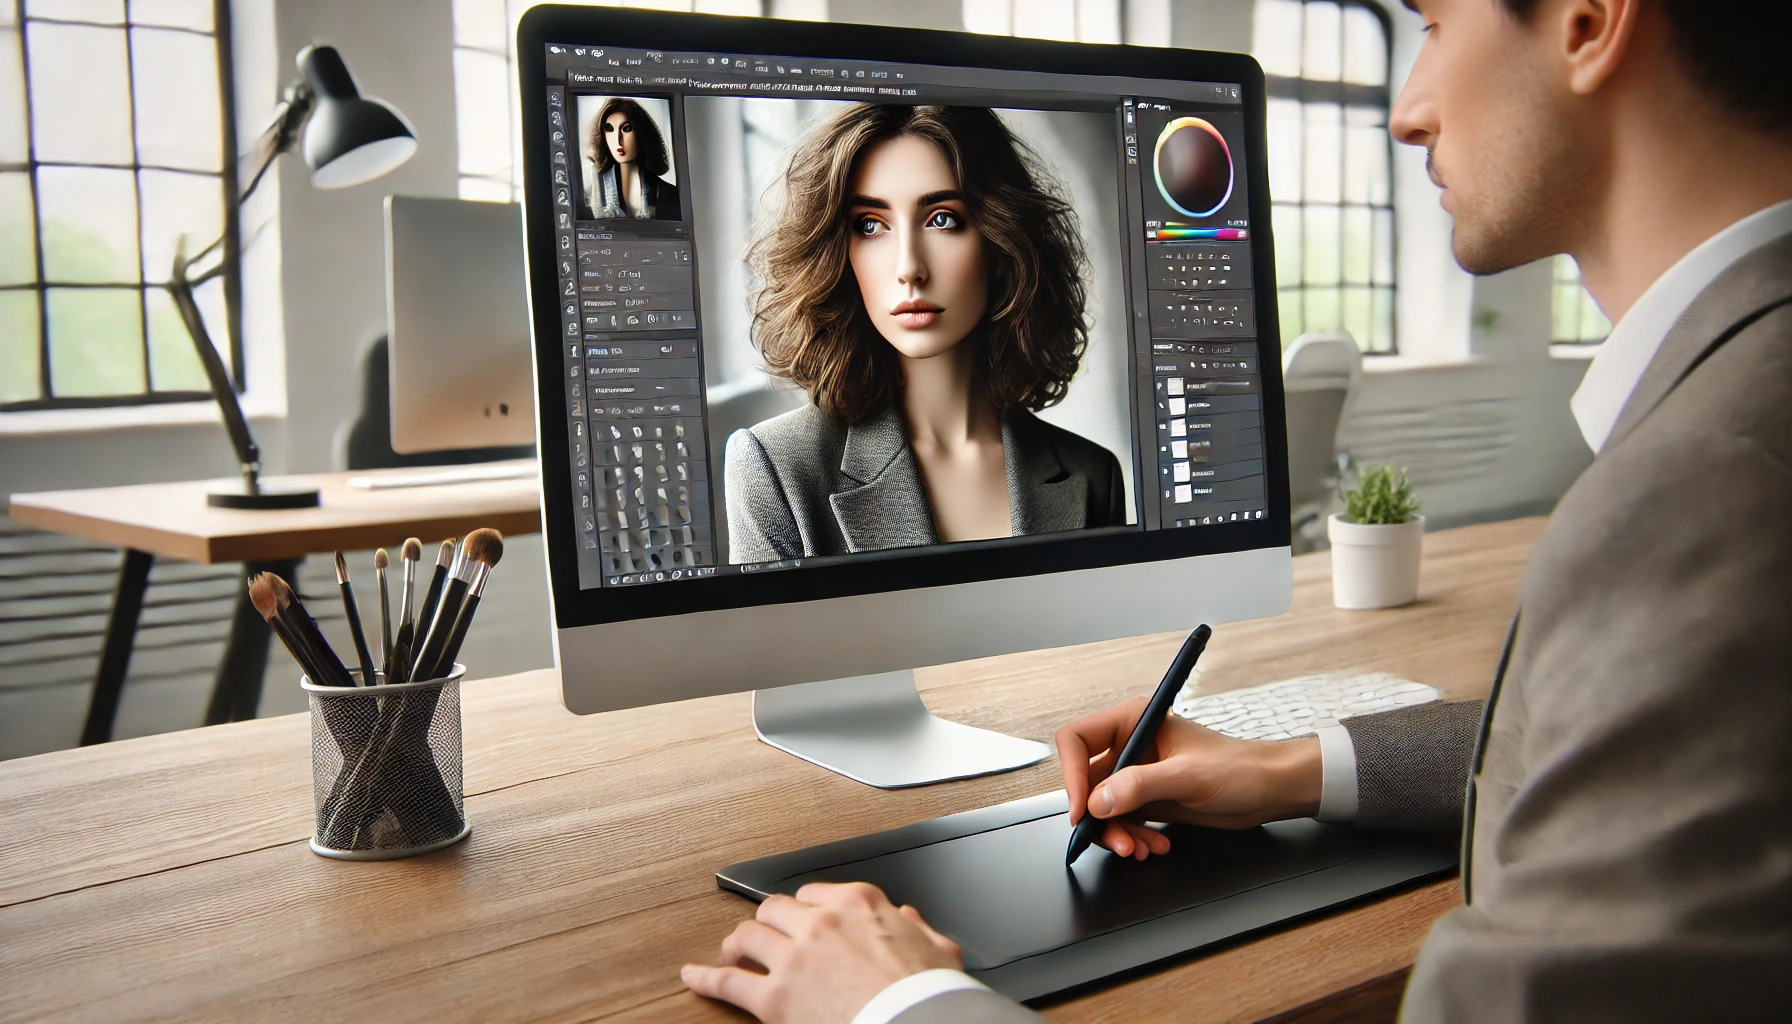
Portrait photography is all about capturing the essence of a person—their emotions, personality, and unique features. However, even the best-shot portraits can benefit from some post-processing to enhance their quality. Editing helps correct lighting, refine details, and bring out the best in your subject while maintaining a natural and polished look.
The Importance of Portrait Editing
A well-edited portrait can make all the difference between an average and a stunning image. Proper editing allows photographers to correct imperfections, balance skin tones, and highlight key features without making the image look artificial. Whether you’re a professional photographer or just someone who enjoys editing personal photos, knowing how to enhance portraits without overprocessing is a crucial skill.
Finding the Balance Between a Natural and Professional Look
One of the biggest challenges in portrait editing is achieving a refined yet natural result. Over-editing can make the skin look plastic, eyes unnaturally bright, and colors too saturated—creating an unrealistic effect. On the other hand, under-editing might leave distractions like blemishes, uneven lighting, or color imbalances that take away from the portrait’s impact. The key is to enhance the photo while preserving the subject’s true essence and natural beauty.
What You’ll Learn in This Guide
In this guide, we’ll take you through the essential steps to edit portraits for a natural and professional look. You’ll learn:
- How to prepare your image before editing
- The best techniques for adjusting exposure and color balance
- Subtle skin retouching methods that maintain texture
- Enhancements for facial features without making them look artificial
- How to create a polished yet realistic final image
By the end of this guide, you’ll have the skills to transform any portrait into a professional-looking image while keeping it authentic and true to life. Let’s get started!

Preparing Your Image for Editing
Before you start editing a portrait, it’s essential to set a strong foundation. Choosing the right photo, working with high-quality formats, and using the best tools will make a significant difference in achieving a natural and professional look.
Choosing the Right Photo for Editing
Not every portrait is ideal for editing. When selecting an image, consider the following factors:
- Lighting and Exposure: A well-lit photo with balanced exposure makes editing easier and prevents excessive corrections.
- Sharpness and Focus: Ensure the subject’s eyes and key facial features are in focus. A blurry image can be difficult to enhance naturally.
- Expression and Composition: Choose a photo where the subject looks natural and comfortable, as forced expressions can be harder to correct in post-processing.
- Background Distractions: While minor distractions can be removed, selecting an image with a clean background reduces unnecessary editing work.
Starting with a high-quality portrait will make the editing process smoother and produce better results.
The Benefits of Shooting in RAW Format
If possible, always shoot in RAW format instead of JPEG. Here’s why:
- More Editing Flexibility: RAW files contain more image data, allowing for better recovery of details in highlights and shadows.
- Higher Color Depth: RAW images retain more color information, making color corrections smoother and more natural.
- Non-Destructive Editing: Unlike JPEG, which compresses image data, RAW lets you make adjustments without losing quality.
- Better Skin Tone Adjustments: Since RAW captures a wider range of colors, it helps maintain realistic and even skin tones during editing.
While RAW files take up more storage space, their advantages in portrait editing make them the preferred choice for professionals.
Recommended Tools for Portrait Editing
Choosing the right software is crucial for achieving professional results. Here are some of the best tools for portrait editing:
- Adobe Lightroom: Ideal for global adjustments like exposure, color correction, and basic retouching. Lightroom’s non-destructive workflow makes it perfect for maintaining a natural look.
- Adobe Photoshop: Best for advanced skin retouching, facial enhancements, and detailed adjustments using layers and masks. Photoshop provides powerful tools for removing blemishes, fine-tuning facial features, and refining textures.
- Capture One: A great alternative to Lightroom with superior color grading controls and excellent RAW processing. It’s widely used by professional photographers for its precision.
- Affinity Photo: A budget-friendly alternative to Photoshop that offers professional-level retouching tools.
- Luminar Neo: Ideal for AI-powered portrait enhancements, allowing quick and easy adjustments while preserving a natural appearance.
Each of these tools has its strengths, and the best choice depends on your workflow and editing needs. For beginners, Lightroom is a great starting point, while Photoshop offers more control for advanced retouching.
Adjusting Basic Exposure and White Balance
Proper exposure and white balance are the foundation of a well-edited portrait. If your image is too dark, too bright, or has an unnatural color cast, it can affect the overall look and feel. Here’s how to fine-tune these settings to achieve a natural and professional result.
Fixing Brightness, Contrast, and Exposure
The first step in portrait editing is ensuring the image has the correct exposure. An underexposed photo can make details appear too dark, while an overexposed one can wash out important features like skin texture and highlights.
- Increase or decrease exposure: Use the exposure slider in Lightroom or Photoshop to brighten or darken the image while keeping the details intact.
- Adjust contrast: A slight contrast boost enhances depth, but too much can make the image look unnatural. Keep it subtle.
- Refine highlights and shadows: Lowering highlights helps recover detail in bright areas like the forehead or nose, while lifting shadows reveals details in darker areas.
A well-balanced exposure will ensure the skin looks smooth and natural without losing essential details.
Adjusting White Balance for Natural Skin Tones
White balance plays a crucial role in keeping skin tones looking natural. If the image is too warm (yellowish) or too cool (bluish), it can make the subject look unnatural.
- Use the white balance tool: In Lightroom, the “Eyedropper” tool allows you to select a neutral area (like a white shirt or gray background) to automatically correct color temperature.
- Manually adjust temperature and tint:
- Move the temperature slider to the right for a warmer tone and to the left for a cooler effect.
- Use the tint slider to counteract green or magenta color casts.
- Ensure realistic skin tones: Compare the edited image to real-life skin tones to make sure the subject doesn’t look too orange, pink, or pale.
The goal is to create a natural, well-balanced look where the subject’s skin appears healthy and lifelike.
Avoiding Overcorrection in Colors
It’s easy to go overboard when adjusting exposure and white balance, which can lead to unnatural-looking portraits. Here are some tips to maintain a realistic effect:
- Don’t over-brighten the image: Too much exposure can make the skin look flat and unnatural.
- Avoid excessive contrast: Overdoing contrast can make shadows too harsh and highlights too intense.
- Subtlety is key: Always compare your edits to the original image and make gradual adjustments rather than extreme changes.
By carefully fine-tuning brightness, contrast, and white balance, you can ensure your portrait maintains a natural and polished look.
Skin Retouching Without Overprocessing
Achieving a flawless yet natural look in portrait editing requires subtle retouching techniques. Over-editing can result in an unrealistic, plastic-like appearance, while under-editing might leave distracting imperfections. The key is to refine the skin while keeping its natural texture intact.
Using Tools Like “Spot Healing” and “Clone Stamp”
Two of the most effective tools for skin retouching are the Spot Healing Brush and the Clone Stamp in Photoshop:
- Spot Healing Brush Tool: This tool is perfect for quickly removing small blemishes, acne, or fine lines. Simply select the tool, set it to “Content-Aware,” and click on the imperfections. Photoshop automatically blends the surrounding skin for a seamless fix.
- Clone Stamp Tool: When dealing with larger blemishes or areas where texture must be preserved, the Clone Stamp tool is useful. Adjust the brush size, sample a clean area (by holding Alt/Option and clicking), and gently paint over the imperfection while maintaining natural transitions.
How to Smooth Skin While Maintaining Natural Texture
Smoothing skin is a crucial step, but it’s important to retain pores and natural details to avoid an artificial look. Here’s how:
- Use Frequency Separation – This advanced technique separates texture from color, allowing you to smooth skin without affecting fine details. You can soften uneven tones while keeping pores visible.
- Apply a Subtle Skin Smoothing Filter – In Lightroom, the Texture and Clarity sliders can be reduced slightly to even out rough patches while preserving details. Avoid excessive softening, as it can blur natural features.
- Dodge and Burn Technique – Instead of excessive blurring, use Dodge (lighten) and Burn (darken) to balance highlights and shadows, creating a more refined and natural look.
Removing Blemishes and Dark Circles Without Overdoing It
- For Blemishes: Instead of completely removing every imperfection, only target prominent distractions. Minor blemishes can add character and realism to the portrait.
- For Dark Circles: Reduce darkness under the eyes by using a soft brush in the Clone Stamp or Healing Brush Tool at low opacity (20-30%). This will lighten the area without erasing natural shadows that define the face.
- Color Correction: Use a soft brush with a sampled skin tone in low opacity to subtly blend out discoloration, ensuring an even skin tone.
By following these techniques, you can enhance portraits while keeping them natural and professional. The goal is not perfection but an authentic, polished appearance that maintains the subject’s individuality.
Enhancing Facial Features Subtly
When editing portraits, enhancing facial features is essential for a polished yet natural look. The goal is to refine details without making the subject look overly edited or artificial. Here’s how to adjust key features while maintaining a realistic appearance.
1. Adjusting Eyes, Eyebrows, and Teeth Naturally
- Brightening the Eyes: Use the dodge tool or an adjustment brush to slightly increase brightness in the whites of the eyes, but avoid making them pure white, as this can look unnatural.
- Sharpening the Iris: A subtle increase in contrast and clarity in the iris can make the eyes pop while keeping them lifelike.
- Reducing Eye Bags and Wrinkles: Use the clone stamp or healing brush with a low opacity to soften under-eye shadows without completely erasing natural lines.
- Defining Eyebrows: Lightly enhance the shape of the eyebrows by increasing contrast or filling in sparse areas using the brush tool, ensuring it matches the natural hair color.
- Whitening Teeth: A slight reduction in yellow tones using the HSL (Hue, Saturation, Luminance) panel in Lightroom or Photoshop can create a fresh, bright smile without making the teeth look overly white or unnatural.
2. Improving Skin Tone and Reducing Redness
- Balancing Skin Tone: Uneven skin tone can be adjusted using selective color correction. Slight adjustments to the orange and red tones in Lightroom or Photoshop help even out complexion without making the skin look flat.
- Reducing Redness: If the skin appears too red, use the HSL panel to desaturate reds slightly. A targeted adjustment brush with a soft touch of green (which counteracts red) can also help neutralize unwanted redness.
- Adding a Natural Glow: Slightly increasing the warmth and adding a bit of vibrance can create a healthy, radiant skin tone while preserving natural variation.
3. Highlighting Details Without Distorting Natural Features
- Enhancing Definition: Use the clarity and texture sliders subtly to define facial features like cheekbones and lips without making them look harsh.
- Softening Harsh Shadows: If lighting has created unflattering shadows, use a soft dodge tool or exposure brush to lighten the dark areas while keeping the overall depth intact.
- Keeping it Real: Avoid excessive smoothing or contouring that changes the subject’s original look. Always compare with the original image to ensure the edits enhance rather than alter their appearance.
By following these steps, you can refine facial features while keeping the portrait natural and professional. The key is subtlety—small, controlled adjustments will always yield the best results.
Perfecting Hair and Background
Editing hair and background in a portrait is crucial for achieving a polished, professional look. While subtle adjustments can enhance the overall composition, over-editing can make the image appear artificial. Here’s how to refine these elements while maintaining a natural and professional aesthetic.
Reducing Hair Frizz Without Making It Look Artificial
Flyaways and frizz can be distracting in a portrait, but excessive smoothing can make the hair look unnaturally flat. To strike the right balance:
- Use the Spot Healing Brush (Photoshop) – Select the tool and gently brush over stray hairs. This works well for minor flyaways without affecting the hair’s natural shape.
- Clone Stamp Tool for Precision – If flyaways appear in complex areas (such as over the face), use the Clone Stamp Tool with a soft brush at a low opacity to replace unwanted strands carefully.
- Frequency Separation Technique – This advanced technique allows you to edit fine details separately from texture, making it ideal for refining hair while preserving volume.
- Light Dodging and Burning – Instead of erasing flyaways completely, try reducing their visibility by slightly darkening them with the Burn Tool or lightening surrounding areas with the Dodge Tool.
Blurring or Softening the Background for a Professional Effect
A well-balanced background directs focus to the subject without unnecessary distractions. If the original background is too sharp or cluttered, consider these techniques to soften it:
- Use a Lens Blur or Gaussian Blur (Photoshop) – Select the subject using the Select Subject tool, then apply a subtle blur to the background to create a natural depth-of-field effect.
- Adjust Depth in Lightroom – If editing RAW images in Lightroom, use the Brush or Radial Filter to selectively decrease clarity or texture in the background.
- Add a Gradient Blur for Realism – A gradual blur, rather than a uniform one, mimics natural lens behavior, making the effect look more convincing.
Adjusting Background Colors to Complement the Portrait
A background that clashes with the subject’s tones can make the image look unbalanced. Adjusting background colors can create harmony and enhance the portrait’s mood:
- Use Selective Color or Hue/Saturation Adjustments – In Photoshop, select the background and subtly shift its hue or saturation to match the subject’s skin tones and outfit.
- Apply Color Grading in Lightroom – Use the Color Grading panel to add warm or cool tones to the background while keeping skin tones unaffected.
- Replace the Background if Needed – If the background color is unfixable, consider replacing it with a neutral or complementary tone using Photoshop’s Select and Mask tool.
By carefully refining the hair and background, you can elevate a portrait while keeping it natural and visually appealing. Small, precise adjustments will make a significant difference without making the image look overly edited.
Color Grading for a Professional Touch
Color grading is the final step in portrait editing that brings harmony to the image, giving it a polished and professional look. It involves adjusting tones, contrasts, and colors to create a consistent visual style while maintaining natural skin tones.
Creating a Consistent Visual Style
A well-balanced color grade helps establish a signature style, whether you prefer warm, cinematic tones or a bright, airy aesthetic. To achieve consistency:
- Use reference images to guide your color adjustments.
- Stick to a specific color palette that complements the subject’s skin tone and background.
- Apply presets or LUTs (Look-Up Tables) as a starting point, then fine-tune for a natural look.
Using Curves and Color Filters Subtly
The Curves tool is a powerful way to control brightness and color balance:
- Adjust the RGB curve to fine-tune overall contrast.
- Modify the Red, Green, and Blue channels separately to enhance or correct color shifts.
- Lift the shadows slightly for a soft, cinematic feel or add warmth to highlights for a sun-kissed glow.
Color filters and split toning can also add depth to an image, but subtlety is key:
- Use split toning to add warmth to highlights and cooler tones to shadows.
- Apply a light color overlay for a cohesive mood without overpowering natural colors.
- Reduce saturation in overly vibrant areas to prevent an artificial look.
Maintaining Realistic Skin Tones While Enhancing the Image
One of the biggest challenges in color grading is keeping skin tones natural. To avoid unnatural hues:
- Use the HSL (Hue, Saturation, Luminance) panel to target skin tones specifically.
- Reduce excessive reds or oranges that may result from strong lighting.
- Check the skin’s balance by toggling between before-and-after views to ensure it remains true to life.
A good rule of thumb is to enhance the overall color of the image while preserving the subject’s natural complexion. This ensures that your portrait looks professional yet authentic, with a refined and visually pleasing color balance.
Finalizing and Exporting the Image
After making all the necessary adjustments, it’s crucial to take a final look at your portrait to ensure a polished, professional, and natural appearance. This last step helps refine details and guarantees that your image is ready for sharing or printing.
Reviewing Final Adjustments and Fixing Minor Details
Before exporting your image, take a moment to zoom in and check for any inconsistencies. Here are a few final touch-ups to consider:
- Check for over-editing: Ensure that skin retains its natural texture and that no area looks overly smooth or artificial.
- Fix color inconsistencies: Compare skin tones across the image to ensure they look even and realistic.
- Adjust sharpness and clarity: If necessary, slightly enhance the sharpness of key features like eyes and lips to maintain detail.
- Verify background blending: Ensure that the background looks natural and does not distract from the subject.
A great way to check for imperfections is to take a break and revisit the image with fresh eyes or view it on a different screen to see how the colors and details appear in various settings.
Best Export Formats and Settings for Social Media and Print
Choosing the right export settings is essential to maintain the quality of your portrait. Here are the best settings based on where you plan to use the image:
For Social Media (Instagram, Facebook, LinkedIn, etc.)
- Format: JPEG (High Quality)
- Resolution: 2048 pixels on the longest side (for Facebook), 1080×1350 pixels for Instagram posts, or 1080×1920 for stories
- Color Profile: sRGB (optimized for web use)
- Compression: Moderate (to balance file size and quality)
For Printing
- Format: TIFF or PNG (higher quality and lossless format)
- Resolution: 300 DPI (dots per inch)
- Color Profile: Adobe RGB or CMYK (for professional printing)
- File Size: Avoid compressing too much to retain the best possible detail
By selecting the appropriate settings, you ensure that your portrait retains its original quality regardless of the platform.
Comparing Before-and-After Results to Ensure a Natural Look
Before finalizing your edit, it’s helpful to compare the edited version with the original image. Ask yourself the following questions:
✅ Does the skin still look natural, or is it overly smoothed?
✅ Are the eyes, hair, and facial features enhanced subtly without appearing fake?
✅ Does the background complement the portrait without drawing attention away from the subject?
✅ Is the lighting balanced without harsh shadows or excessive brightness?
One useful trick is to toggle between the before-and-after views in editing software (Lightroom and Photoshop both offer this feature). If you notice any drastic changes that seem unnatural, consider making minor adjustments to maintain a realistic look.
The final stage of portrait editing is just as important as the initial adjustments. A well-exported image will look professional and maintain its natural beauty across different platforms. By reviewing details, choosing the right format, and making subtle comparisons, you can ensure that your portraits leave a lasting impression.
Conclusion
Editing portraits to achieve a natural and professional look requires a careful balance of adjustments, subtle retouching, and creative enhancements. Throughout this guide, we covered essential steps, from preparing your image and correcting exposure to refining facial features and applying color grading techniques. By following these principles, you can enhance portraits without making them look over-processed or artificial.
The key to mastering portrait editing is practice. Experiment with different techniques, try various tools, and develop a workflow that suits your unique style. Over time, you’ll gain confidence and refine your ability to create visually stunning yet natural-looking portraits.
To further enhance your editing skills, consider exploring advanced tutorials and online courses. Platforms like Adobe’s official learning center, YouTube channels dedicated to photography editing, and professional courses on Skillshare or Udemy can help you dive deeper into advanced retouching techniques. Additionally, experimenting with Lightroom presets and Photoshop actions can speed up your workflow and inspire creative adjustments.
Keep practicing, stay inspired, and enjoy the process of transforming portraits into professional-quality images!