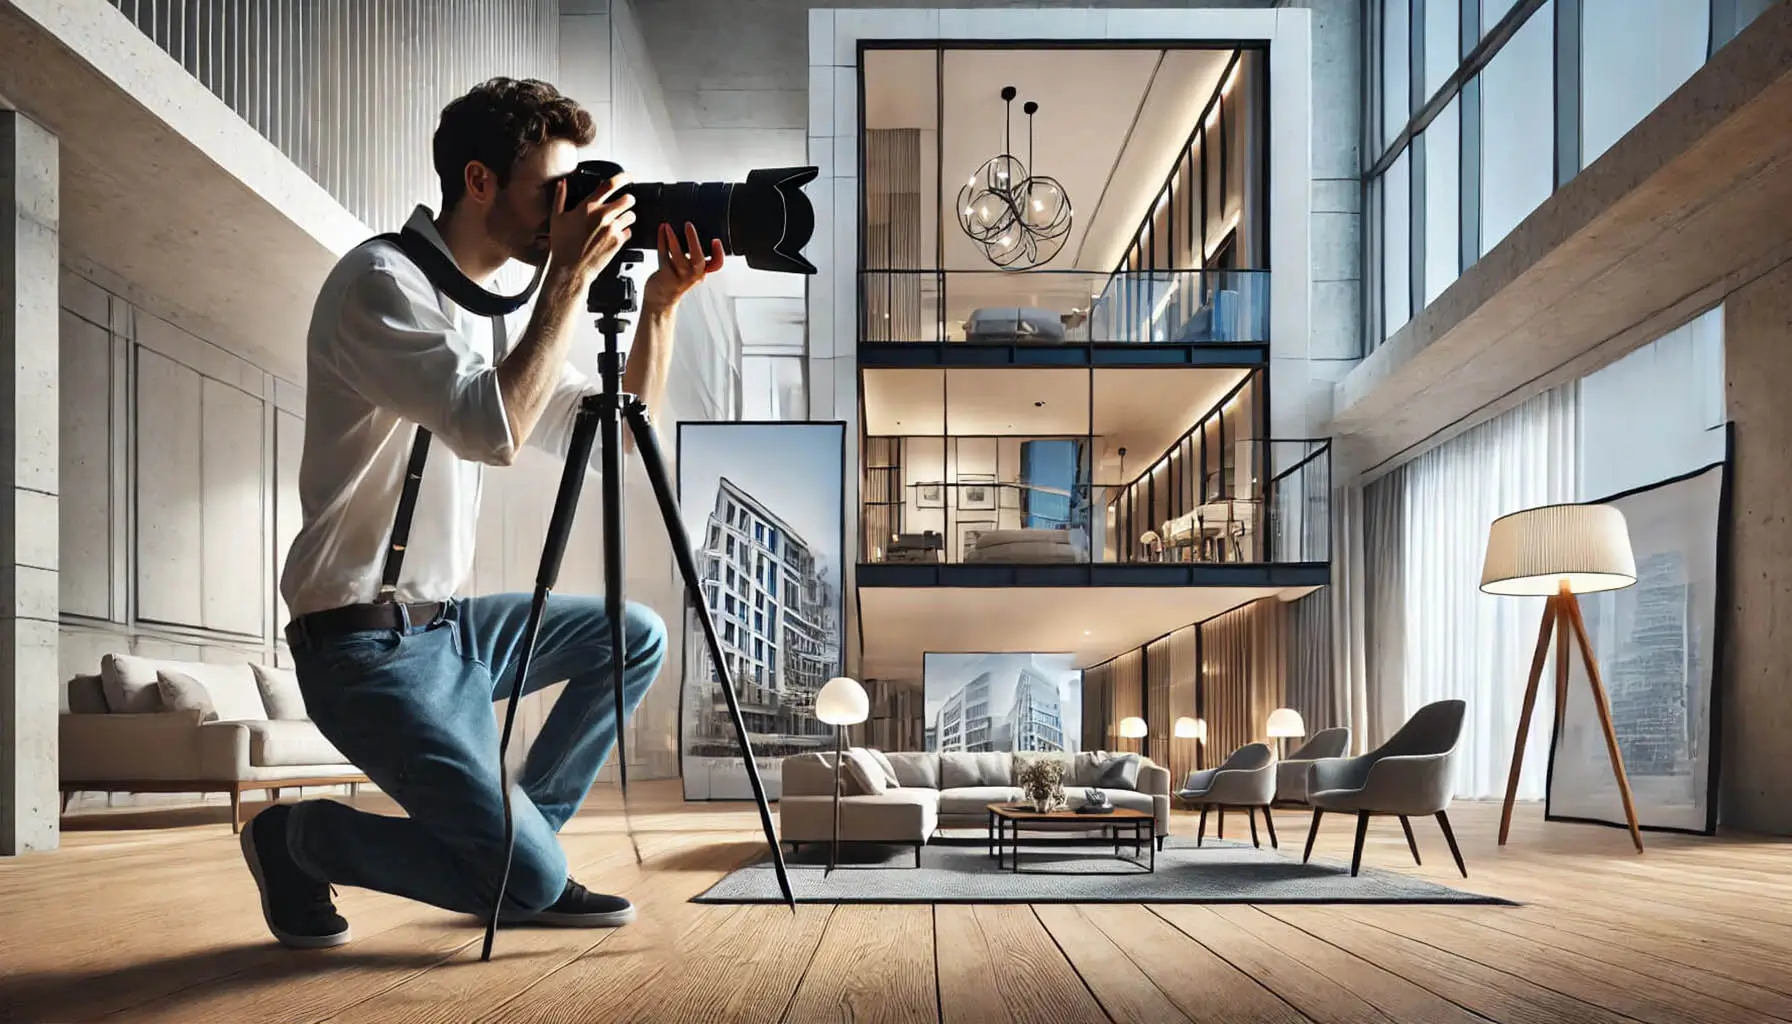
Architectural and interior photography is an art form that goes beyond simply capturing buildings and spaces; it’s about telling a story through visuals. Whether you’re photographing a modern skyscraper or a cozy interior, these images have the power to evoke emotion and highlight the beauty of design, structure, and space. Stunning architectural and interior photos not only preserve the essence of a space but also showcase its unique features, helping to create an unforgettable impression.
To truly capture the essence of a space, it’s crucial to master the fundamental elements of photography. Lighting, composition, and perspective are the pillars that elevate a photograph from good to stunning. The right lighting can reveal the texture and depth of a building or room, while thoughtful composition can draw the viewer’s eye to key architectural details. Perspective plays a significant role in making spaces appear grand or intimate, depending on the message you want to convey. Mastering these elements allows you to turn any scene into a captivating visual experience.
Understanding Your Equipment
When it comes to capturing stunning architectural and interior photos, the equipment you use can make a significant difference. Having the right tools in your photography kit allows you to achieve better results, so understanding what works best for your needs is key. Here’s a guide to help you choose the right equipment for your architectural and interior shots.
Choosing the Right Camera: DSLR vs. Mirrorless
Both DSLR and mirrorless cameras are excellent choices for architectural and interior photography, but each comes with its own set of advantages. DSLR cameras are known for their rugged build, reliable autofocus, and long battery life. They also offer a wide selection of lenses and accessories. However, mirrorless cameras have been gaining popularity due to their compact size, faster autofocus, and real-time viewfinder previews. They are lightweight and allow for more precise control over exposure and depth of field. Ultimately, the decision comes down to personal preference and the specific features you need, but both options can produce high-quality results.
Essential Lenses for Architectural and Interior Photography
Lenses are crucial in architectural and interior photography, as they influence how you capture space and structure. Here are the most essential lenses to consider:
- Wide-Angle Lenses for Space
Wide-angle lenses are a must for architectural photography, especially when working in tight spaces like interiors or capturing large buildings from up close. These lenses, typically ranging from 14mm to 35mm, allow you to fit more into the frame, making smaller rooms appear more expansive and helping you capture entire buildings in a single shot. They also enhance the perception of space by emphasizing depth and perspective. However, be mindful of distortion, especially at the extreme ends of the focal length. - Tilt-Shift Lenses for Correcting Distortion
One of the common challenges in architectural photography is distortion, especially when photographing tall buildings from ground level. Tilt-shift lenses help correct this by allowing you to adjust the plane of focus and eliminate perspective distortion. By keeping vertical lines straight, tilt-shift lenses help maintain the natural proportions of a building, making them essential for professional-level architecture shots. These lenses also give you creative control over depth of field, making them invaluable for fine-tuning your photos.
Tripods: Why They’re Crucial for Sharp Images
Architectural and interior photography often requires long exposure times, especially in low-light conditions or when capturing detailed shots. This is where a sturdy tripod becomes indispensable. Using a tripod ensures that your camera stays perfectly still during the exposure, preventing any blur caused by hand movement. A tripod is particularly useful for interior shots, where low-light conditions may require slower shutter speeds. It also allows you to compose your shots more carefully and experiment with different angles without worrying about stability. Always opt for a tripod that is durable and can support the weight of your camera and lens.
Accessories: Remote Shutter, Filters, etc.
There are several accessories that can elevate the quality of your architectural and interior photos:
- Remote Shutter Release: A remote shutter release eliminates the risk of camera shake when pressing the shutter button, ensuring sharp and steady shots. This is especially important when using long exposures or when shooting on a tripod. Many remote releases are wireless and can also allow for interval shooting, which is useful for time-lapse photography.
- Filters: Filters can help you control the amount of light entering your lens, adjust the exposure, and improve color saturation. A polarizing filter, for example, can reduce reflections on windows or water, making it especially useful when photographing glass facades or shiny surfaces. ND (neutral density) filters are helpful for achieving long exposures in bright daylight, allowing you to capture motion blur or smooth out water surfaces.
- Lens Hood and UV Filters: While not essential, lens hoods help protect your lens from stray light and lens flares, which can often ruin architectural shots. UV filters, on the other hand, provide an additional layer of protection for your lens and can also reduce the appearance of atmospheric haze in your images.
By understanding your equipment and knowing what each piece does, you can make informed decisions and be better prepared to capture stunning architectural and interior photos. Whether it’s choosing the right camera, using the appropriate lenses, or ensuring stability with a tripod, the right gear will help you bring your vision to life with greater precision and creativity.
Mastering Lighting Techniques
Lighting plays a pivotal role in architectural and interior photography, as it can dramatically impact the mood, texture, and depth of your images. Mastering both natural and artificial lighting is crucial to achieving stunning photographs that truly showcase a space’s character and design.
Natural Light: Using Sunlight to Enhance Textures and Depth
Natural light is one of the most powerful tools in architectural photography. Sunlight can bring out the textures, colors, and details in your photos, adding depth and a sense of warmth to the scene. When photographing interiors, try to position your camera in a way that takes advantage of natural light streaming through windows, doors, or open spaces. Early morning or late afternoon light often produces soft, diffused rays that create long shadows and emphasize textures, such as the grain of wood, the roughness of stone, or the softness of fabric.
To make the most of natural light, observe how it changes throughout the day and adjust your shooting time to capture the light in its best form. Pay attention to how the light interacts with the space—whether it’s casting patterns on the floor or creating highlights on architectural features.
Artificial Light: The Role of Artificial Lighting in Interiors
While natural light is beautiful, it’s not always available or sufficient for capturing a well-lit image. In interior spaces, artificial lighting plays a crucial role in ensuring that every corner of the room is evenly lit. Different types of artificial lighting can create different effects. For example, warm yellow lights can evoke a cozy, inviting atmosphere, while cooler white lights can enhance the crispness of a modern interior.
When photographing interiors, aim to balance various light sources in the room, such as ceiling lights, lamps, and accent lights, to prevent any area from appearing too dark or overexposed. Experiment with different lighting intensities and placements to highlight key features like furniture, artwork, or architectural details.
Balancing Light: How to Manage Both Interior Light and Outside Light
One of the most challenging aspects of architectural photography is balancing interior and exterior lighting. Often, the light outside a building (especially in daylight) is much brighter than the indoor lighting, creating a stark contrast. This can lead to overexposed windows or dark, shadowy interiors.
To balance these light sources, try using your camera’s exposure settings to avoid blowing out the highlights of the windows while maintaining enough light indoors to capture details. You can also use a technique known as HDR (High Dynamic Range) photography, which involves taking multiple exposures of the same scene and combining them in post-processing to create a well-balanced image. Another effective approach is to use fill lighting, either with a flash or other light sources, to illuminate the darker areas of the interior without overpowering the natural light.
Understanding the Golden Hour for Architecture Photography
The golden hour—the period just after sunrise and just before sunset—is renowned for its soft, warm light, which can add a magical touch to your architectural photos. The lower angle of the sun during this time casts long, flattering shadows and infuses the scene with a rich golden hue, enhancing the texture and details of buildings and interiors alike.
For outdoor architectural shots, this is the ideal time to capture the beauty of a structure’s facade, as the warm light creates depth and a visually pleasing contrast. For interior shots, golden hour can be used to create a cozy, inviting ambiance. Experiment with this period to capture the most aesthetically pleasing light, and be sure to time your shoot for the perfect moment.
Using Reflectors and Diffusers to Soften Harsh Light
When shooting in harsh sunlight or with direct artificial lighting, it can be challenging to get the right exposure and avoid unwanted shadows or highlights. This is where reflectors and diffusers come into play. Reflectors bounce light onto a subject, filling in shadows and softening the overall lighting. They can be especially useful in interior photography, where you may need to fill in dark corners without overpowering the scene with additional lighting.
Diffusers, on the other hand, soften the harshness of direct light by scattering it evenly across the subject. This is ideal for reducing the intensity of bright sunlight or artificial light sources. You can use diffusers for outdoor architecture shots to soften the sunlight or place them inside to mellow out any direct artificial light. Both reflectors and diffusers are affordable tools that can make a big difference in creating smooth, flattering lighting that highlights your architectural and interior subjects beautifully.
Mastering these lighting techniques will allow you to capture your architectural and interior photographs with the depth, clarity, and warmth they deserve. Experimenting with different light sources and understanding how to balance them will give you more creative control, ensuring your photos truly stand out.
Composition Tips for Stunning Photos
When it comes to capturing stunning photos of architecture and interiors, composition plays a critical role in how your photos communicate the design and structure. Here are some essential composition tips to elevate your photography and create visually striking images.
Rule of Thirds and Symmetry in Architectural Photography
The rule of thirds is a fundamental composition technique that helps create balanced and engaging photos. Imagine dividing your frame into a 3×3 grid with two vertical and two horizontal lines. Place key elements, such as doors, windows, or significant features of a building, along these lines or at their intersections. This method draws the viewer’s eye toward the focal points in a natural, pleasing way.
Symmetry is another powerful tool, particularly in architecture. Many buildings and interior spaces have inherent symmetry that can be emphasized in your composition. Whether you’re capturing the clean lines of a modern structure or the intricate details of a classical design, aligning the symmetry of your photo with the building’s elements can result in a stunning, harmonious image.
Leading Lines: How They Guide the Viewer’s Eye
Leading lines are an excellent way to draw attention to the focal point of your image and guide the viewer’s eye through the photo. Look for architectural elements like staircases, corridors, railings, or even the edges of a building that create natural lines leading into the frame. These lines can create a sense of depth and perspective, making your photo feel dynamic and three-dimensional. Leading lines also help emphasize the scale and grandeur of a building or space.
Framing and Depth: Making Use of Elements Like Doorways, Windows, and Furniture
Incorporating framing into your composition adds a layer of depth and can help focus the viewer’s attention on the main subject. Doorways, windows, archways, and even furniture can act as natural frames within the composition. For example, a window frame can provide a beautiful, contextual view of the exterior, or a doorway can serve as an inviting frame that pulls the viewer’s eye inward. This technique not only enhances the visual appeal but also creates a sense of storytelling, guiding the viewer through different layers of space.
The Importance of Angles: Experimenting with Different Perspectives
Experimenting with various angles is crucial in architectural photography. Don’t just rely on eye-level shots—try low-angle or high-angle shots to capture unique perspectives. A low-angle shot can emphasize the height and grandeur of a building, making it appear more imposing, while a high-angle shot can showcase the layout and design of an interior space in a more comprehensive way. Changing your viewpoint can reveal hidden details and new compositions, allowing you to tell a more complete story of the architecture or interior design.
Keeping Vertical Lines Straight: Avoiding Distortion in Interiors
One common challenge in architectural and interior photography is maintaining straight vertical lines, especially when shooting tall buildings or indoor spaces with walls and windows. Distortion can easily occur if your camera is tilted or if you’re shooting at an extreme angle, resulting in a “falling over” effect where vertical lines slant inward. To avoid this, keep your camera level with the horizon, ensuring your lines remain straight. If you’re using a wide-angle lens, be mindful of barrel distortion, and consider using lens correction tools in post-processing to straighten the lines without losing detail.
By incorporating these composition tips into your photography, you’ll be able to take stunning architectural and interior photos that are visually compelling, well-balanced, and dynamic. Keep experimenting with different techniques, and soon, you’ll have a portfolio full of captivating images that highlight the beauty of design and space.
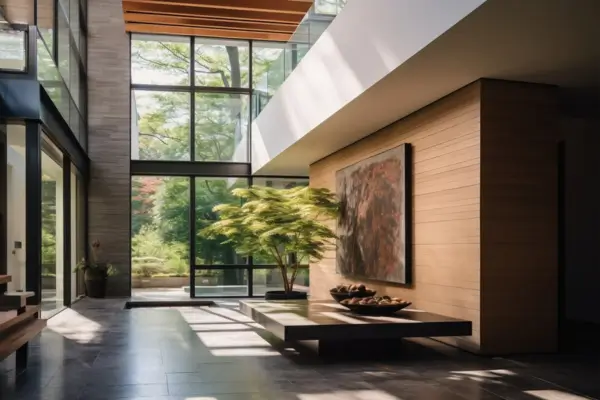
Shooting Interior Spaces
Capturing stunning interior photographs requires a keen eye for detail, lighting, and composition. Whether you’re photographing a cozy apartment or a spacious living room, understanding how to approach different types of spaces can make a big difference. Here are some essential tips for shooting interior spaces effectively:
How to Photograph Small Rooms Versus Large Spaces
When photographing small rooms, the goal is often to make the space appear larger and more open. To achieve this, use a wide-angle lens to capture as much of the room as possible. Shoot from the corner of the room or from a higher vantage point to give the illusion of space. Avoid cutting off important elements like furniture or architectural features, as this can make the room feel cramped.
For larger spaces, you can focus on capturing the scale and grandeur of the area. Use a longer focal length to zoom in on architectural details or interesting features. You might also want to capture multiple angles to show the full scope of the room. In large spaces, be mindful of clutter and distractions—ensure the focus remains on the design elements that best showcase the space’s grandeur.
Focusing on Details: Textures, Patterns, and Furniture
Details can make a significant impact in interior photography. When photographing a room, zoom in on interesting textures like the grain of wood, the softness of textiles, or the sheen of polished surfaces. Patterns on fabrics or wallpaper can add depth and visual interest to your photos. Don’t overlook furniture either—carefully styled or unique furniture pieces can become focal points in your shots.
Make sure to shoot from angles that highlight these details without overwhelming the composition. Incorporating close-up shots of textures or materials will bring a unique character to your photos and make them more engaging for the viewer.
Creating a Sense of Depth and Dimension in Your Photos
One of the challenges in interior photography is making a two-dimensional image feel three-dimensional. To create depth and dimension in your photos, use elements in the foreground, middle ground, and background. Placing objects like furniture, rugs, or plants in the foreground adds layers to the shot, making it feel more dynamic.
Additionally, experimenting with perspective can help you achieve a sense of depth. Shoot from a low or high angle to emphasize the size and proportions of the room, or use leading lines to draw the viewer’s eye through the space.
Using Depth of Field Effectively to Highlight Certain Elements
Depth of field is a powerful tool in interior photography. By controlling the aperture, you can choose which parts of the scene are in focus and which are blurred. For example, if you want to highlight a specific feature, like a piece of artwork or a vase, use a shallow depth of field to create a soft blur in the background while keeping your subject sharp.
On the other hand, if you want the entire room to be in focus, use a smaller aperture to increase the depth of field. This is particularly useful when photographing large spaces where you want the viewer to see every detail clearly.
Dealing with Clutter: How to Tidy Up a Room for the Perfect Shot
Clutter can quickly detract from the aesthetic of an interior photograph. Before taking any shots, take a moment to tidy up the space. Remove unnecessary items that may distract from the design elements you want to highlight. Pay attention to small details like stray cords, dishes, or personal items that could clutter the scene.
In some cases, rearranging furniture or moving objects can help create a more visually appealing composition. Consider the flow of the room and how the placement of furniture can influence the image’s balance. A well-organized, tidy room will allow the design elements to shine and ensure your photos are clean and polished.
By applying these techniques, you’ll be able to photograph interior spaces that not only showcase the room’s design but also convey a sense of personality and style. Whether you’re photographing a small apartment or a spacious mansion, these tips will help you create captivating interior shots every time.
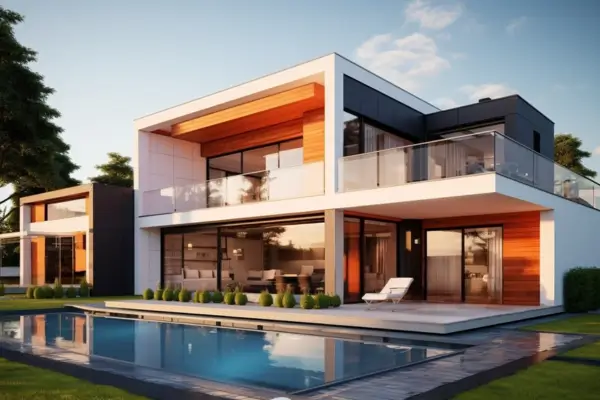
Architectural Photography Outdoors
Outdoor architectural photography offers endless opportunities to capture the beauty and grandeur of buildings, but it also presents unique challenges. To elevate your outdoor shots, consider the following tips:
Capturing Buildings at Different Times of Day
The time of day you choose to photograph a building dramatically affects the mood and quality of your shots. Early morning and late afternoon, during the golden hour, provide soft, warm light that can add depth and texture to the building’s surfaces. In contrast, midday light is harsh and can cast strong shadows, which might not be ideal for every architectural shot. Experiment with different times to see how the changing light interacts with the structure and the surrounding environment. If you’re aiming for dramatic effects, consider capturing buildings during sunset or at night when artificial lights bring out a completely different character.
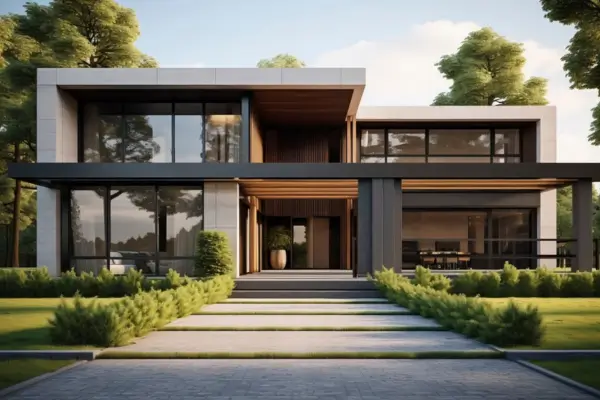
Incorporating the Surrounding Environment into the Shot
The context surrounding a building can enhance its architectural beauty and tell a more complete story. Including elements such as streets, trees, or other structures can provide a sense of scale and atmosphere. For example, wide shots that show the building in relation to the surrounding cityscape can give viewers a clear understanding of its size and importance. Be mindful of distractions in the background, though—an overly busy scene can take attention away from the main subject. Use the environment creatively, whether it’s the reflection of a building in a nearby pool or the play of shadows on the sidewalk.
Dealing with Reflections and Glass Facades
Modern architecture often involves glass facades, which can be both beautiful and tricky to photograph. Reflections can sometimes create distractions or obscure the details you want to highlight. To minimize these, try shooting at an angle where reflections are less pronounced, or use a polarizing filter to reduce glare. If you’re photographing a building with reflective surfaces, try incorporating what is being reflected into your composition for an interesting, multi-layered effect. For example, capturing a building’s reflection on nearby water or in the windows of another structure can add depth and complexity to your shot.
Taking Advantage of Shadows and Contrasts
Shadows can play a powerful role in architectural photography, adding depth, drama, and texture. Look for how shadows fall on the building at different times of the day, and use them to highlight the building’s features. High-contrast lighting, such as during the middle of the day, can emphasize geometric shapes, lines, and curves, enhancing the visual impact of your shot. Experiment with silhouettes—shooting the building against a bright sky to create a striking contrast between light and dark elements. The interplay of light and shadows can transform an ordinary scene into something extraordinary.
Using Drones for Unique Aerial Shots
Aerial shots taken with drones open up new possibilities for capturing architectural structures. From above, you can reveal the full layout of a building and its surroundings, offering a unique perspective that’s often impossible to achieve from the ground. A drone allows you to experiment with angles, framing, and compositions that highlight the geometry and scale of the building. When using a drone, be mindful of your local regulations regarding drone usage and flight restrictions. Drone shots are particularly effective for large buildings or landscapes where the building’s relationship to its environment is key to understanding its design.
By taking these factors into account, you’ll be able to capture outdoor architecture in a way that highlights its beauty, scale, and intricate details. Whether you’re photographing a modern skyscraper, a historic monument, or an urban plaza, these tips will help you elevate your outdoor architectural photography.
Post-Processing Your Photos
After capturing stunning architectural and interior shots, the next crucial step is post-processing. Proper editing can elevate your photos, enhance details, and ensure the final result is as visually striking as the scene you photographed. Here’s a breakdown of essential post-processing techniques for architectural photos:
Basic Editing Techniques: Adjusting Exposure, Contrast, and Colors
The first step in editing is to fine-tune the exposure, contrast, and colors. These adjustments help correct any lighting issues and bring out the true beauty of your photo.
- Exposure: Ensure the image is neither too bright nor too dark. Adjust the exposure to reveal hidden details, especially in areas like shadows or highlights.
- Contrast: Enhancing the contrast helps the architectural elements pop, adding depth and dimension to the scene. Experiment with subtle contrast adjustments to keep the image natural while adding clarity.
- Colors: Adjusting the color balance is essential for architectural photos, as it helps set the right mood. Correct any color temperature issues, and ensure that whites appear neutral unless you’re intentionally adding a warm or cool tone. Saturation and vibrancy adjustments can also make the colors more vivid, but be cautious not to overdo it.
Correcting Lens Distortion and Perspective Issues
Architectural photos often suffer from lens distortion, especially when shooting wide angles. Distortion can cause straight lines to appear curved, which is common with wide-angle lenses. Fortunately, post-processing tools can fix these issues.
- Lens Distortion: Programs like Lightroom and Photoshop offer lens correction tools that automatically adjust for distortion based on the lens used.
- Perspective Correction: When photographing tall buildings or interiors, you may notice converging verticals—where the walls appear to tilt inwards. Use the perspective correction tools to straighten these lines and make your photos look more professional.
Enhancing Details While Maintaining Natural Lighting
A well-balanced architectural photo maintains a sense of natural lighting while bringing out the finer details. Here are a few tips:
- Highlighting Details: Use clarity and texture adjustments to enhance intricate architectural elements, like textures on walls or patterns on floors.
- Maintaining Natural Lighting: It’s essential to keep the natural light’s integrity intact during editing. While you might brighten up a shadowed corner or boost contrast in a dull spot, avoid over-processing the image, as this can create an unrealistic appearance.
- Dodge and Burn: Subtle dodge-and-burn techniques (lightening and darkening specific areas) can be used to highlight features or add depth without overwhelming the natural look of the photo.
Using Editing Software Like Lightroom and Photoshop for Architectural Photos
Two of the most powerful editing programs for architectural photography are Adobe Lightroom and Adobe Photoshop. Both have unique features to enhance your workflow:
- Lightroom: Ideal for batch editing and making global adjustments, Lightroom offers a user-friendly interface and powerful tools like gradient filters, tone curve adjustments, and lens corrections. Use it to make general tweaks to exposure, contrast, and color, as well as to sharpen the image.
- Photoshop: For more detailed editing, Photoshop allows for pixel-level precision. It’s perfect for retouching, fixing imperfections, and compositing multiple images together. You can use Photoshop’s advanced tools, like the clone stamp or content-aware fill, to remove unwanted objects or distractions from the frame.
By applying these post-processing techniques, you can ensure your architectural photos are polished, striking, and true to the original scene. With practice, you’ll master the art of enhancing your photos while preserving their natural beauty.
Final Tips and Tricks
To take your architectural and interior photography to the next level, here are some advanced tips that can make all the difference in creating truly stunning images:
Experimenting with Different Focal Lengths and Apertures
One of the most powerful tools in architectural photography is your lens. Different focal lengths can dramatically alter the perspective of your photos. A wide-angle lens, for example, can capture the grandiosity of a building or an entire room, making spaces feel more expansive. On the other hand, a telephoto lens allows you to zoom in on intricate details like textures or patterns, offering a more intimate view of the design.
Similarly, adjusting your aperture can control the depth of field in your photos. A wide aperture (low f-stop) will blur the background and isolate the subject, emphasizing certain architectural features. A narrow aperture (high f-stop) brings more of the scene into focus, which is particularly useful when photographing expansive interiors or entire buildings.
Creating Mood: How to Use Lighting to Convey Atmosphere
Lighting is arguably the most important factor when it comes to setting the mood of your photo. A well-lit scene can evoke different emotions, whether you’re aiming for a serene, bright feel or a moody, dramatic atmosphere. In architectural photography, you can use natural light to highlight the textures and contours of a building or space. The soft, warm glow of sunlight streaming through a window can add a welcoming touch to an interior, while harsh midday sun may create sharp contrasts that emphasize form and structure.
You can also experiment with artificial lighting, like using lamps or overhead lights, to create shadows and highlights that accentuate architectural details. Additionally, consider the time of day: golden hour (shortly after sunrise or before sunset) provides a soft, warm light that can enhance the texture and depth of both interiors and exteriors.
Understanding the Importance of Patience and Preparation
Great architectural and interior photos don’t happen by accident; they require patience and careful planning. Before you start shooting, take some time to observe the space. Walk around the area, look for interesting angles, and consider the direction of the light. Patience is key, especially when working with natural light, as it changes throughout the day. Waiting for the right light or adjusting the scene can often result in far more compelling images.
Preparation is also crucial when shooting interiors. Declutter the space, move furniture if necessary, and ensure everything is positioned perfectly. The smallest detail, like a misplaced object or an untidy corner, can detract from an otherwise stunning shot.
How to Tell a Story Through Your Architectural Photos
Each photo you take can tell a story, whether it’s about the history of the building, the functionality of a space, or the emotions it evokes. Think about the narrative you want to convey before clicking the shutter. Are you focusing on the grand scale of a building? Or are you capturing the intimate details of a cozy interior?
Incorporate elements of the space that help tell that story. For example, photographing a beautiful window with the light streaming through might suggest a feeling of openness and tranquility, while an image of a worn wooden door might tell the story of the building’s age and character. By considering what you want to communicate, you can use framing, composition, and lighting to guide the viewer’s interpretation of the photo.
With these final tips in mind, you’re equipped to capture images that go beyond just the visual—they’ll evoke emotion, tell a story, and showcase the architectural beauty in every space you photograph.
Conclusion
Capturing stunning photos of architecture and interiors requires a blend of technical knowledge, creativity, and practice. By understanding your equipment, mastering lighting techniques, and perfecting your composition, you can elevate your photography to new heights. Experimenting with different angles, perspectives, and post-processing methods will allow you to bring out the unique beauty of any space, whether it’s an intricately designed building or a cozy, thoughtfully arranged room.
Remember, the key to improvement is practice. The more you shoot, the more you’ll refine your skills and develop your own signature style. Don’t be afraid to experiment with different techniques, play with lighting, or try unconventional perspectives to capture truly unique images.
We’d love to see your work! Share your favorite architectural and interior photos with us or ask for any tips and advice. Feel free to leave a comment below, and let’s continue the conversation on how to perfect this fascinating art form.