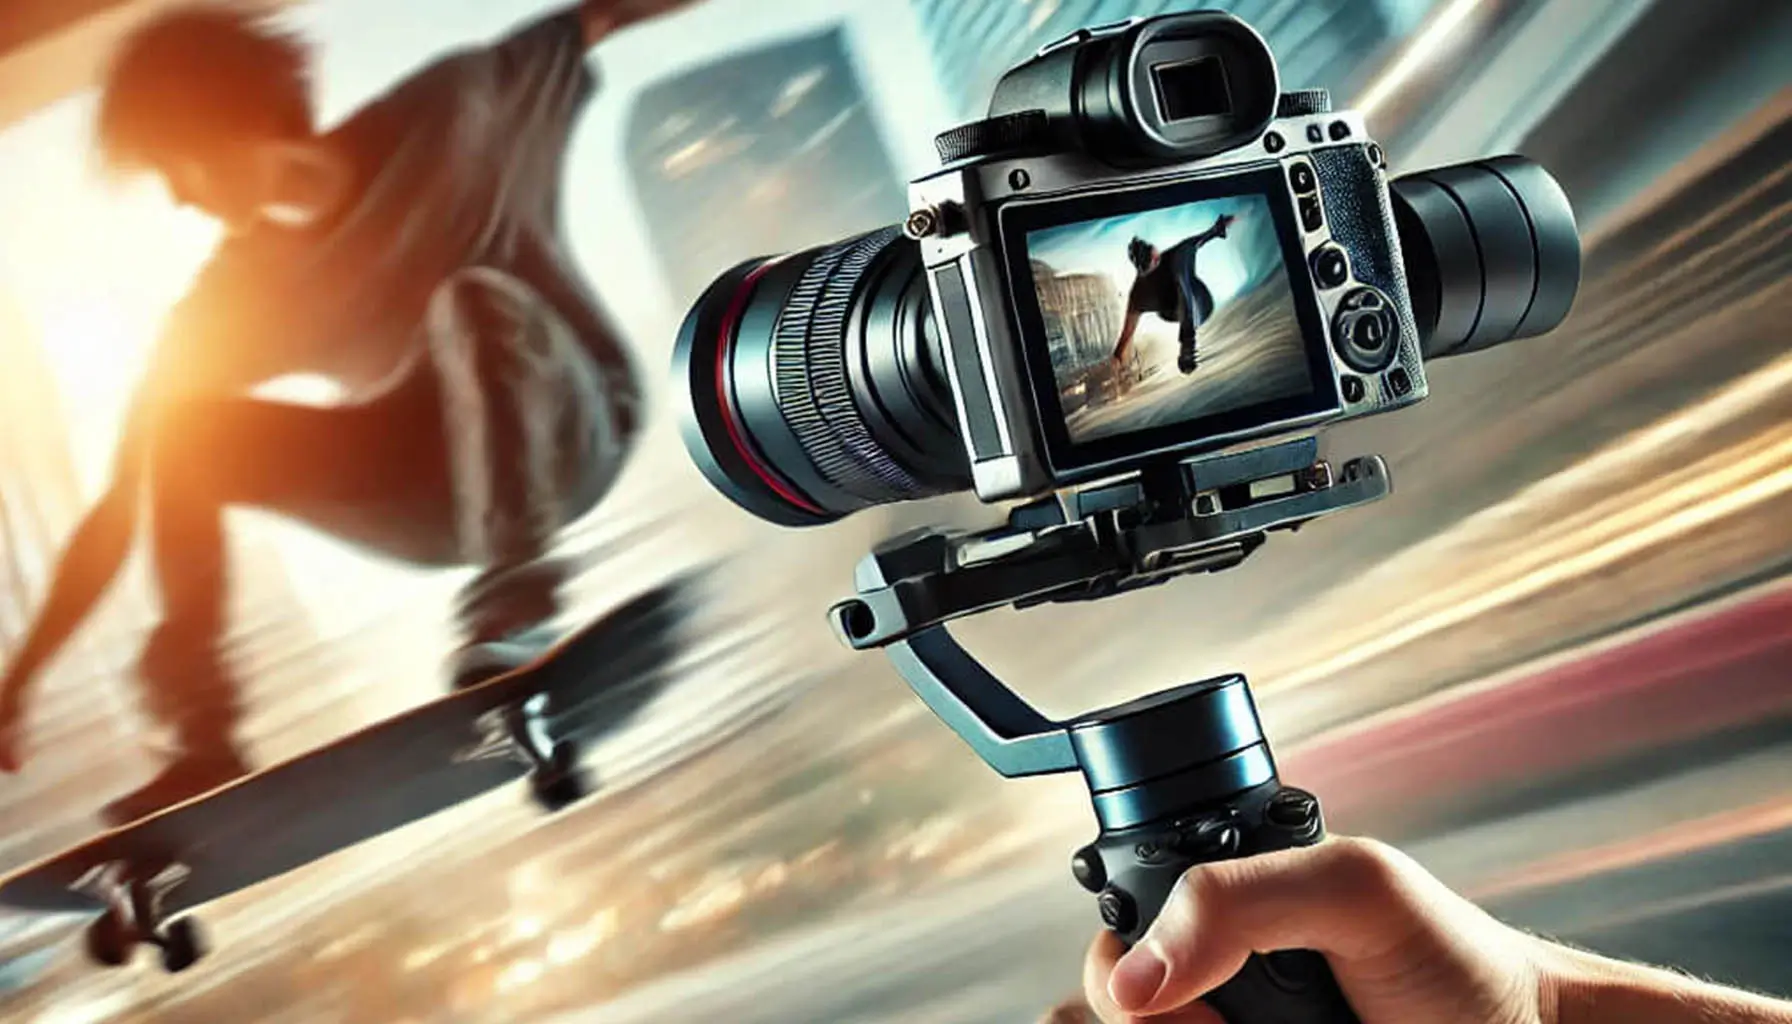
Capturing action-packed moments—whether it’s an extreme sports adventure, a dynamic travel vlog, or fast-paced event coverage—requires more than just a high-quality camera. One of the biggest challenges in action photography and videography is maintaining stability. Shaky footage or blurry images can ruin an otherwise perfect shot, making the content look unprofessional and hard to watch.
This is where a good stabilizer makes all the difference. By reducing unwanted motion and vibrations, a stabilizer ensures that your videos remain smooth and your photos stay sharp, even in high-motion scenarios. Whether you’re filming with a smartphone, action camera, or professional DSLR, choosing the right stabilizer can significantly enhance the overall quality of your content.
In this article, we’ll explore the different types of stabilizers available, key factors to consider when choosing one, and expert tips for getting the best results. Whether you’re a beginner looking for an easy-to-use solution or a professional seeking high-end stabilization, this guide will help you find the perfect stabilizer for your needs.
Understanding Stabilizers: Types and Functions
What is a Stabilizer?
A stabilizer is a device designed to minimize unwanted camera movement, ensuring smooth and steady footage. Whether you’re shooting action-packed sports, vlogs, or cinematic sequences, a stabilizer helps eliminate shaky shots caused by hand movements or sudden shifts.
In action photography and videography, where motion is constant, stabilizers play a crucial role in maintaining image clarity and professionalism. Depending on the type, they can use mechanical counterweights or advanced electronic motors to balance the camera and keep shots stable.
Mechanical vs. Electronic Stabilizers
There are two primary types of stabilizers: mechanical and electronic. Each has its strengths, depending on the filming environment and the type of camera used.
- Mechanical Stabilizers: These stabilizers rely on counterweights and a gimbal system to balance the camera manually. They do not require batteries or electronic components, making them highly reliable and ideal for extreme environments. However, they often require more skill to operate effectively. Examples include Steadicams and glidecams.
- Electronic Stabilizers (Gimbals): These use motorized gimbals and sensors to detect and counteract movements automatically. They provide precise stabilization and are easier to use, making them the preferred choice for action videographers. However, they require battery power and are often more expensive than mechanical stabilizers.
Gimbals vs. Handheld Stabilizers vs. Tripod Stabilizers
There are several types of stabilizers, each designed for different filming styles and equipment:
1. Gimbals (Electronic Stabilizers)
Gimbals are the most advanced stabilizers, using three-axis motors to keep the camera level while moving. They are widely used for action cameras, smartphones, and DSLRs. Features like motion tracking, time-lapse modes, and remote app control make them highly versatile.
- Best for: Action videos, vlogging, professional filmmaking
- Pros: Excellent stability, automated adjustments, ease of use
- Cons: Battery dependency, higher cost
2. Handheld Stabilizers (Mechanical or Electronic)
Handheld stabilizers can be either mechanical (using counterweights) or electronic (with a motorized gimbal). They allow flexible movement while providing stabilization, making them ideal for dynamic shots.
- Best for: Run-and-gun filming, travel videos, sports footage
- Pros: Portable, provides good stabilization, works with various cameras
- Cons: Learning curve for mechanical versions, may require fine-tuning
3. Tripod Stabilizers (Hybrid Solutions)
Tripod stabilizers function as both tripods and stabilizers, offering stability for static shots while allowing controlled movements. Some tripods feature built-in gimbal heads for smooth panning and tilting.
- Best for: Interviews, cinematic panning shots, low-light photography
- Pros: Multipurpose, great for long exposure shots, no battery required
- Cons: Limited mobility, not ideal for action shots
Each type of stabilizer serves a different purpose, and the best choice depends on your specific filming needs. If you’re capturing high-energy action shots, a 3-axis gimbal might be your best bet. For more controlled, cinematic movements, a mechanical stabilizer could work well. Understanding these options will help you select the right stabilizer for your action videos and photos.
Key Factors to Consider When Choosing a Stabilizer
Choosing the right stabilizer for action videos and photos requires careful consideration of several key factors. The ideal stabilizer should enhance the quality of your footage while also being practical and easy to use. Below are the most important aspects to keep in mind before making a purchase.
Camera Compatibility – Does It Work with Your Camera/Smartphone?
Not all stabilizers are universal. Some are specifically designed for smartphones, while others support action cameras, DSLRs, or mirrorless cameras. Before purchasing, check the stabilizer’s weight capacity and mounting options to ensure it fits your device. Using an incompatible stabilizer can lead to imbalanced footage and ineffective stabilization.
Weight and Portability – Ideal for Action Filming
Action videography often requires shooting in dynamic and unpredictable environments. A lightweight and compact stabilizer makes it easier to move around and capture footage without adding excessive strain. If you’re traveling or shooting extreme sports, consider a model that is both durable and easy to carry.
Stabilization Technology – 3-Axis Gimbals, Counterweights, etc.
There are different stabilization mechanisms available, and choosing the right one depends on your filming needs:
- 3-Axis Gimbals: These electronically controlled stabilizers counteract movement on three axes (tilt, roll, and pan) for ultra-smooth footage.
- Mechanical Stabilizers: These use counterweights and physical balancing to reduce camera shake, offering a more budget-friendly alternative.
- Optical and Digital Stabilization: Some cameras come with built-in stabilization, which can complement an external stabilizer.
Battery Life (for Electronic Stabilizers) – Important for Long Shoots
If you’re opting for a motorized stabilizer, battery life is crucial. Some models last only a few hours, while high-end stabilizers can run for an entire day on a single charge. If you plan on shooting long sessions, consider a stabilizer with extended battery life or the option to swap batteries quickly.
Ease of Use and Setup – Quick Adjustments vs. Complex Configurations
A good stabilizer should be intuitive and easy to set up. Some models require extensive calibration before use, while others offer quick setup options with auto-balancing features. If you’re frequently on the move, opt for a stabilizer with simple adjustments to save time and effort.
Additional Features – Follow Mode, Time-Lapse, App Integration
Modern stabilizers offer a variety of extra features that can enhance your filming experience:
- Follow Mode: Automatically tracks a subject’s movements for smooth cinematic shots.
- Time-Lapse & Motion-Lapse: Enables creative time-based photography with automated camera movements.
- App Integration: Allows for remote control, firmware updates, and additional customization options.
By carefully evaluating these factors, you can choose a stabilizer that best suits your needs and ensures your action footage remains stable, sharp, and professional.
Best Stabilizers for Different Use Cases
Choosing the right stabilizer depends on the type of camera you use and your filming needs. Here are the best stabilizers categorized by use case:
For Smartphones – Best Budget-Friendly and Professional Options
Smartphone videography has become increasingly popular, and having a stabilizer can take your footage to the next level.
- Budget Option: DJI Osmo Mobile SE – A great entry-level gimbal with intelligent tracking, gesture controls, and a foldable design.
- Mid-Range Option: Zhiyun Smooth 5 – Offers excellent stabilization, multiple shooting modes, and a strong battery life.
- Professional Option: DJI Osmo Mobile 6 – Advanced tracking, ergonomic design, and seamless app integration for pro-level videos.
For Action Cameras (GoPro, DJI Osmo Action, etc.) – Lightweight and Durable Picks
Action cameras are designed for high-intensity movements, so a good stabilizer must be lightweight and durable.
- Budget Option: Hohem iSteady Pro 4 – Affordable and effective, with splash-proof design and 3-axis stabilization.
- Mid-Range Option: FeiyuTech G6 Max – Great for action cameras, mirrorless cameras, and smartphones, offering versatility and stability.
- Professional Option: GoPro Karma Grip – Specifically designed for GoPro cameras, offering superior stabilization and built-in controls.
For DSLRs and Mirrorless Cameras – High-End Stabilizers for Professional Quality
Larger cameras require more robust stabilizers to ensure smooth, cinematic footage.
- Budget Option: MOZA AirCross 2 – Affordable yet powerful, with great payload capacity and advanced features.
- Mid-Range Option: DJI Ronin-SC – A lightweight yet sturdy stabilizer with intelligent shooting modes.
- Professional Option: DJI Ronin-S 2 – Industry-standard performance with high payload capacity, carbon fiber build, and extensive customization options.
For Vlogging and Travel – Compact and Easy-to-Carry Stabilizers
When you’re on the go, having a compact stabilizer can make all the difference.
- Budget Option: Zhiyun Smooth Q4 – Small, foldable, and easy to carry, perfect for travel vlogging.
- Mid-Range Option: FeiyuTech Vlog Pocket 2 – Pocket-sized and feature-packed with great stabilization.
- Professional Option: DJI Pocket 2 – A built-in gimbal camera with excellent portability and high-quality video output.
Each of these stabilizers is designed to enhance video quality based on specific filming needs. Whether you’re a casual content creator or a professional filmmaker, choosing the right stabilizer can significantly improve your footage.
Tips for Using a Stabilizer Effectively
A stabilizer can significantly improve the quality of your action videos and photos, but to get the best results, you need to know how to use it properly. Here are some essential tips to help you achieve smooth, professional-looking footage.
How to Balance the Stabilizer Properly
Balancing your stabilizer correctly is crucial for optimal performance. If it’s not balanced, your footage may still look shaky or uneven. Follow these steps to ensure proper setup:
- Mount Your Camera Securely – Attach your camera or smartphone firmly to the stabilizer. Ensure that it’s positioned at the center to avoid unnecessary tilting.
- Adjust the Weight Distribution – If you’re using a mechanical stabilizer, adjust the counterweights to achieve equilibrium. With electronic gimbals, fine-tune the motorized axes until the camera remains level without assistance.
- Use a Flat Surface for Calibration – When setting up, place the stabilizer on a flat surface to check its balance before starting to shoot.
- Perform a Shake Test – Lightly move the stabilizer to see if the camera stays steady. If it drifts or tilts, adjust accordingly.
- Recalibrate When Changing Lenses or Accessories – If you’re using a DSLR or mirrorless camera, re-balance the stabilizer whenever you switch lenses, add a microphone, or use additional accessories.
Best Shooting Techniques for Smooth Footage
Even with a well-balanced stabilizer, your shooting technique plays a major role in achieving fluid motion. Here are some expert tips:
- Use the “Ninja Walk” Technique – Bend your knees slightly and take slow, controlled steps to reduce vibrations and sudden jerks.
- Keep a Light Grip – Hold the stabilizer firmly but avoid applying too much pressure, as this can interfere with its natural movement.
- Move with Intention – Plan your shots ahead of time and make slow, deliberate movements rather than sudden turns or shifts.
- Utilize Pan and Tilt Features Smoothly – If your stabilizer has pan and tilt functions, use them gradually to maintain cinematic motion.
- Follow Your Subject Naturally – Instead of making abrupt direction changes, follow your subject smoothly and predict their movement in advance.
Common Mistakes to Avoid
Many beginners make mistakes that can lead to poor stabilization and shaky footage. Be aware of these common pitfalls:
- Skipping the Balancing Process – Failing to balance your stabilizer properly will lead to inconsistent performance, no matter how advanced the device is.
- Over-Relying on the Stabilizer – While stabilizers help smooth out movements, poor shooting techniques can still result in jittery footage. Always maintain proper posture and movement.
- Ignoring Gimbal Calibration – For electronic stabilizers, regularly calibrating the motors ensures optimal performance and avoids drifting issues.
- Moving Too Fast – Rapid or jerky motions can overwhelm the stabilizer, leading to unnatural-looking footage. Slow, controlled movements are key.
- Holding the Stabilizer Too Tightly – A rigid grip can restrict the stabilizer’s ability to absorb movement, making shots look unnatural.
By mastering these techniques and avoiding common mistakes, you’ll be able to capture ultra-smooth, high-quality action footage that looks professional and polished. Experiment with different movements and settings to find what works best for your shooting style.
Budget Considerations: Finding the Best Value for Money
When choosing a stabilizer for action videos and photos, budget plays a crucial role. With a wide range of options available, understanding the differences between entry-level, mid-range, and professional stabilizers can help you make the best choice without overspending.
Entry-Level Stabilizers: Affordable and Functional
Entry-level stabilizers are great for beginners, hobbyists, or those who don’t need high-end stabilization. These are often simple handheld gimbals or mechanical stabilizers that use counterweights instead of electronic motors. While they may lack advanced features, they still provide a noticeable improvement in video smoothness compared to handheld shooting.
✅ Pros:
- Budget-friendly (typically under $100)
- Lightweight and easy to use
- Suitable for smartphones and action cameras
❌ Cons:
- Limited stabilization control
- No advanced tracking or app integration
- Less effective for heavy cameras
🔹 Best for: Casual users, vloggers, and beginners who want better stabilization without a big investment.
Mid-Range Stabilizers: Balance Between Price and Performance
Mid-range stabilizers offer a great balance between affordability and functionality. These are typically 3-axis gimbals with electronic motors that provide smooth motion control, multiple shooting modes, and app connectivity. They work well with smartphones, action cameras, and some mirrorless cameras.
✅ Pros:
- Excellent stabilization for dynamic shots
- Features like motion tracking, follow modes, and time-lapse
- Rechargeable batteries with decent runtime
❌ Cons:
- More expensive ($100–$300)
- Slightly heavier and bulkier than entry-level options
- May struggle with heavier DSLR cameras
🔹 Best for: Content creators, travel vloggers, and intermediate users looking for smooth footage without a high cost.
Professional Stabilizers: High-End Performance for Filmmakers
Professional stabilizers are designed for filmmakers, videographers, and content creators who need top-tier stabilization. These stabilizers support heavier cameras, offer precise motion control, and often include AI-driven features for cinematic-quality shots. Some high-end options even allow for remote control operation.
✅ Pros:
- Superior stabilization for high-quality video production
- Supports DSLR and cinema-grade cameras
- Advanced features like auto-follow, remote control, and modular add-ons
❌ Cons:
- Expensive ($400–$1000+)
- Bulky and requires more setup time
- Battery life may be shorter due to advanced electronics
🔹 Best for: Professional videographers, filmmakers, and those who need industry-level stabilization for high-budget projects.
Price vs. Performance: Which Stabilizer Should You Choose?
If you’re a beginner or casual content creator, an entry-level stabilizer is a cost-effective way to improve video stability without a big investment. Mid-range stabilizers are the best option for most users, offering excellent stabilization with smart features at a reasonable price. However, if you’re serious about filmmaking and need high-end performance, a professional stabilizer is the way to go.
💡 Tip: Always compare features, read reviews, and consider your shooting needs before making a purchase. Investing in the right stabilizer will enhance your video quality and help you achieve professional-looking footage.
Conclusion
Choosing the right stabilizer for action videos and photos is essential for capturing smooth, professional-quality footage. Throughout this guide, we explored the different types of stabilizers, key features to consider, and the best options for various use cases. Whether you’re using a smartphone, an action camera, or a DSLR, the right stabilizer can make a significant difference in your content quality.
For those on a budget, entry-level smartphone gimbals offer excellent stabilization without breaking the bank. If you’re an adventure enthusiast using a GoPro or similar action camera, look for compact, rugged stabilizers designed for high-impact movement. For professional filmmakers, high-end 3-axis gimbals provide precise control and advanced features for cinematic results.
Ultimately, the best stabilizer depends on your specific needs and filming style. The key is to test different models, practice using them effectively, and find the one that best suits your workflow. With the right stabilizer in hand, you’ll be able to capture stunning, shake-free action shots and take your videography to the next level. Happy filming! 🎥✨