Taking high-quality product photos at home is easier than ever, thanks to affordable cameras, smartphones, and simple lighting techniques. Whether you’re selling on an e-commerce platform, social media, or creating a portfolio, professional-looking images can significantly impact your sales and brand perception. In this guide, we’ll cover essential techniques for capturing stunning product photos without a professional studio.
1. Choose the Right Background
A clean, non-distracting background makes the product stand out. The most common option is a plain white background, which is widely used in e-commerce photography. You can achieve this using a white sheet, poster board, or a lightbox. For lifestyle shots, use wooden surfaces, marble textures, or fabric backgrounds to complement the product’s aesthetic. Avoid clutter and unnecessary elements that may take attention away from the product.
2. Use Natural or Artificial Light for the Best Results
Good lighting is the key to professional-looking product photos. If you’re using natural light, place the product near a window with indirect sunlight to avoid harsh shadows. A white curtain can act as a diffuser, softening the light. If using artificial light, softboxes or LED ring lights are great for creating even illumination. Position the light source at a 45-degree angle to avoid unwanted glare and reflections. Avoid using your camera’s built-in flash, as it often creates harsh shadows and unnatural lighting.
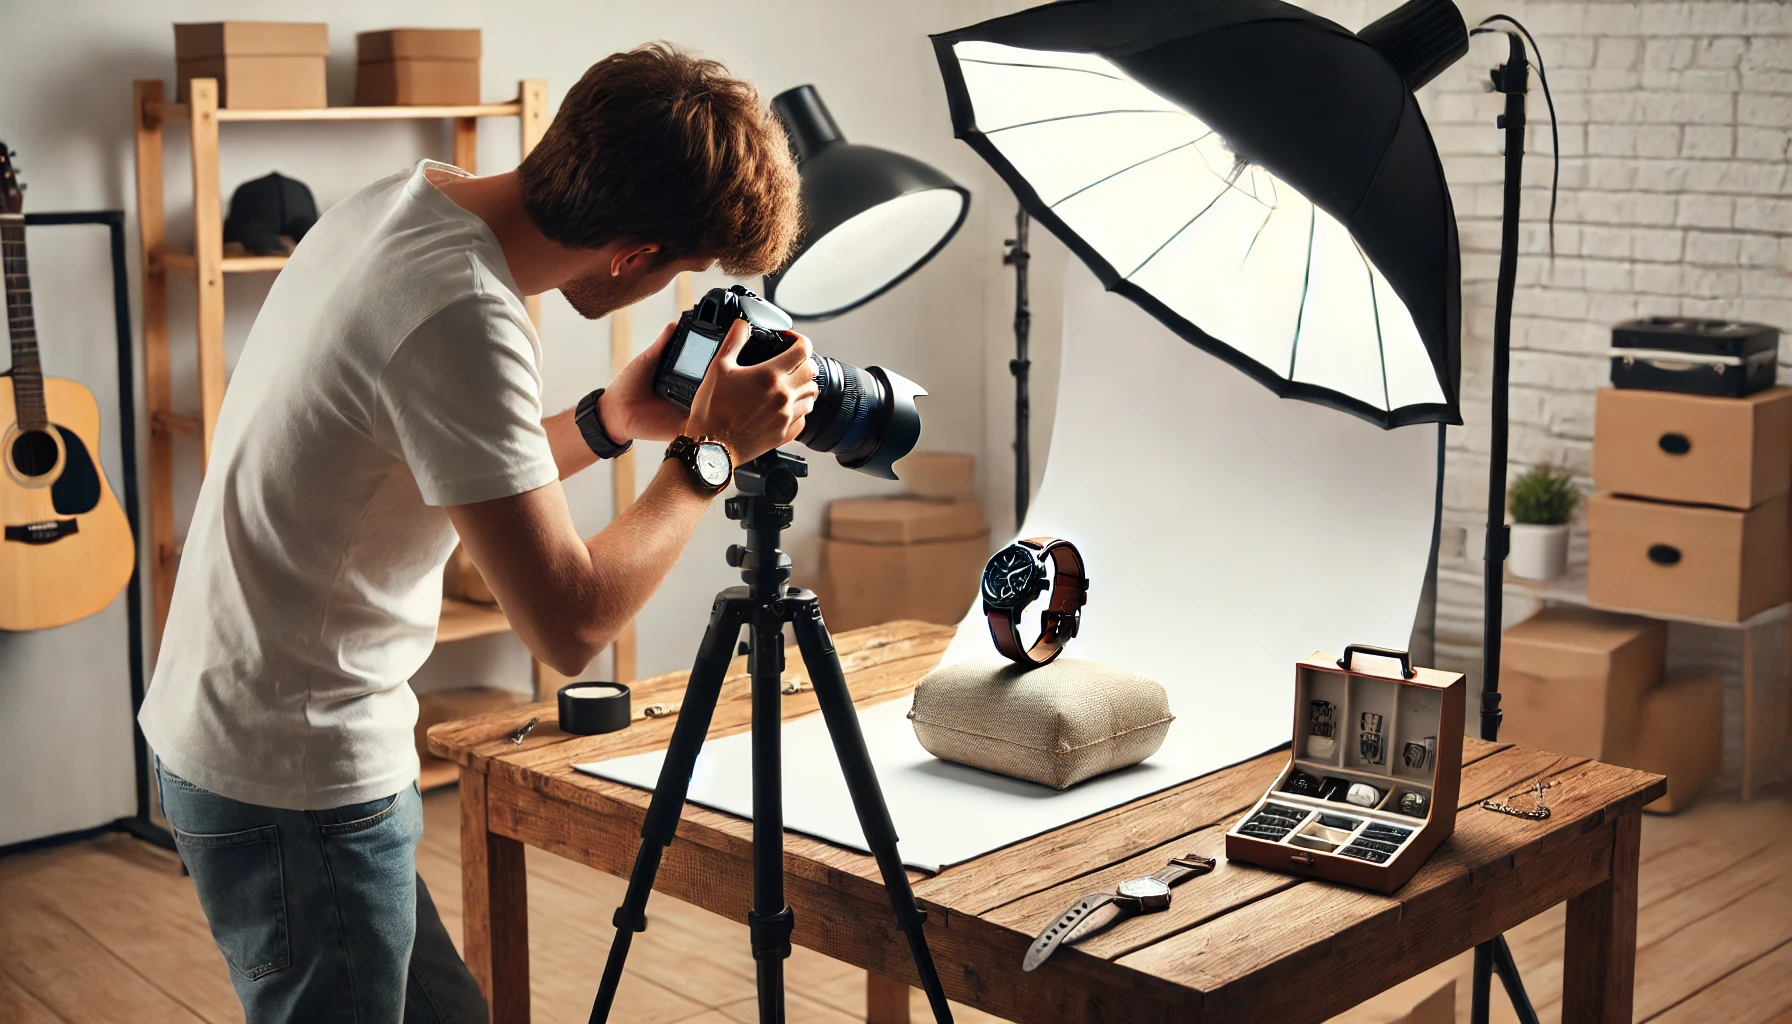
3. Use a Tripod for Stability and Consistency
A tripod eliminates camera shake and ensures all images are sharp and consistent. This is especially important if you’re taking multiple product shots at different angles. Even a small, affordable tripod can significantly improve the quality of your images. If shooting with a smartphone, use a phone holder with a tripod to keep your device steady. If a tripod isn’t available, stabilize your hands by resting your elbows on a solid surface.
4. Adjust Your Camera Settings for Maximum Quality
Whether you’re using a DSLR, mirrorless camera, or smartphone, proper settings can make a huge difference. Use a low ISO (100-200) to reduce noise, set a narrow aperture (f/8 – f/16) for sharp focus, and adjust the white balance to match your lighting source. If using a smartphone, enable Pro Mode or an app like Lightroom Mobile to manually adjust exposure and focus. Always shoot in the highest resolution available to maintain image clarity.
5. Master the Art of Composition and Angles
Capturing multiple angles gives potential buyers a clear view of the product. The most commonly used angles include front view (main product shot), side view, back view, top-down (for flat-lay photography), close-up details, and in-use shots (showing the product being used in real-life situations). Following the rule of thirds can help create visually balanced compositions. If using a smartphone, enable the grid feature to align the product correctly.
6. Keep the Focus Sharp and Details Crisp
Blurry product photos look unprofessional and may deter potential buyers. Always tap to focus if using a smartphone or use manual focus on a camera for precise control. If shooting small objects like jewelry or electronics, consider using a macro lens for capturing fine details. Good lighting and a steady tripod will also help maintain sharpness in every shot.
7. Use Reflectors or White Cards to Control Shadows
Even with good lighting, shadows can sometimes be too harsh. Placing a white foam board or reflector opposite the light source can help bounce light onto the product and soften shadows. If the shadows are still too strong, reposition the light or move the product slightly to balance the illumination. Experimenting with different light angles can create more appealing shadows and highlights.
8. Edit Your Photos for a Polished Look
Post-processing can enhance your product photos without making them look artificial. Adjust brightness, contrast, and sharpness using tools like Adobe Lightroom, Photoshop, or Snapseed. If you’re shooting on a white background, you can remove any unwanted shadows or imperfections to make the product stand out even more. Avoid excessive filters or heavy editing that alters the true appearance of the product, as authenticity is crucial in e-commerce photography.
9. Maintain Consistency in Your Product Images
If you’re photographing multiple products for an online store, maintaining a consistent style is essential. Use the same background, lighting setup, and camera angles for all images. Consistency helps create a professional and cohesive brand identity, making your store look more trustworthy and visually appealing.
10. Test and Experiment to Improve Your Shots
The best way to improve your product photography is through trial and error. Experiment with different lighting setups, angles, and compositions to see what works best for your products. Take multiple shots from various perspectives and compare them to find the most appealing ones. Over time, you’ll develop a signature style that enhances your brand’s visual identity.
Final Thoughts
Taking professional product photos at home is entirely possible with the right techniques and tools. By focusing on proper lighting, composition, and camera settings, you can create high-quality images that attract customers and boost sales. With practice and experimentation, you’ll refine your skills and develop a photography style that makes your products stand out.