Capturing breathtaking landscapes is more than just pointing your camera at a beautiful scene. To create compelling landscape photos, you need to think about composition, depth, lighting, and camera settings. By applying the right techniques, you can transform ordinary landscapes into visually stunning and immersive images.
In this guide, we’ll explore how to photograph landscapes with depth and impact, making your images more dynamic and captivating.
1. Use Foreground Elements to Add Depth
A great landscape photo should have a sense of depth that draws the viewer into the scene. One way to achieve this is by including a strong foreground element.
How to Use Foreground Effectively:
- Position rocks, flowers, trees, or water reflections in the foreground.
- Use a wide-angle lens (e.g., 16mm-24mm) to exaggerate the depth.
- Keep sharp focus from the foreground to the background using a small aperture (f/8 – f/16).
Foreground elements provide a sense of scale and guide the eye deeper into the image.
2. Master the Rule of Thirds for Balanced Composition
The Rule of Thirds is a classic photography principle that helps create well-balanced and visually appealing landscapes.
How to Apply the Rule of Thirds:
- Imagine your frame divided into nine equal sections by two horizontal and two vertical lines.
- Place the horizon along either the top or bottom third of the frame.
- Position key elements like mountains, trees, or a winding road near the intersections of these lines.
This technique makes the composition feel more natural and dynamic than simply centering the subject.
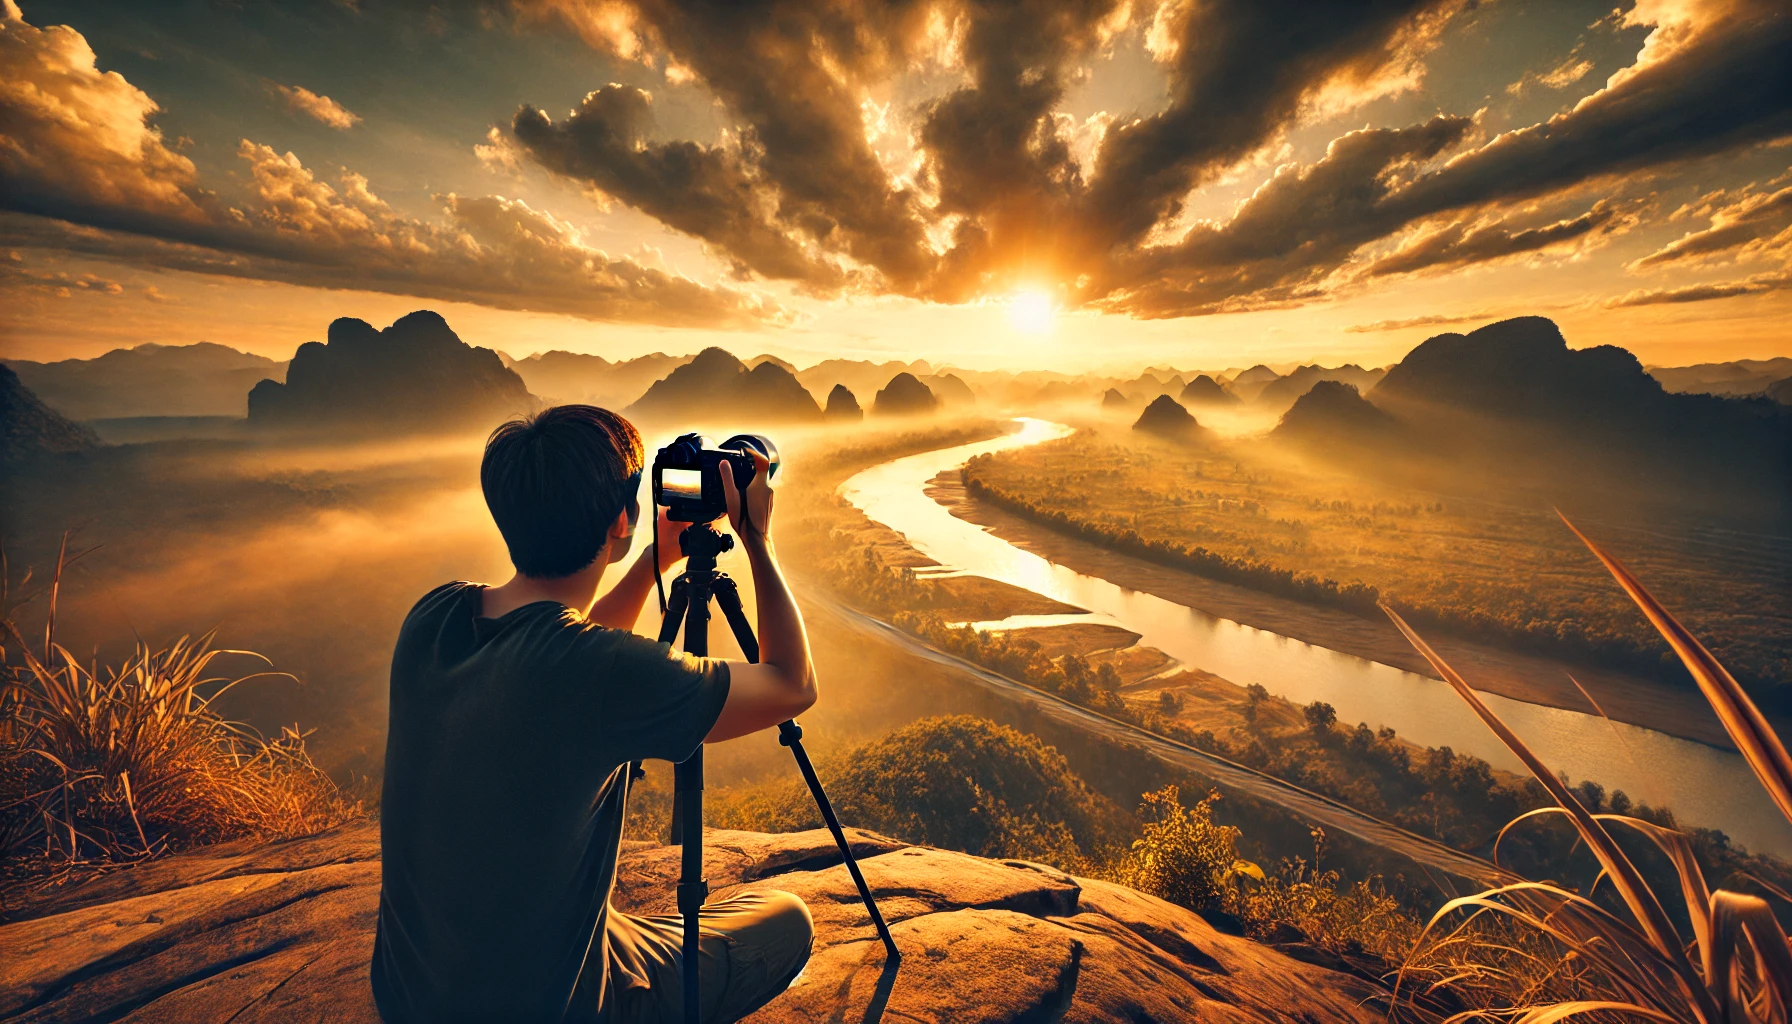
3. Shoot During Golden Hour for the Best Lighting
Lighting is one of the most critical factors in landscape photography. Shooting at the right time of day can dramatically enhance the mood and impact of your photos.
Best Times for Landscape Photography:
- Golden Hour – Just after sunrise and before sunset, when the light is soft and warm.
- Blue Hour – The period before sunrise and after sunset, ideal for moody and dramatic shots.
- Cloudy Days – Diffused light can help reduce harsh shadows and create a soft atmosphere.
Midday light is often too harsh, so if you must shoot at this time, look for shaded areas or use a polarizing filter to reduce glare.
4. Use Leading Lines to Guide the Viewer’s Eye
Leading lines are elements that draw the viewer’s eye deeper into the scene, creating a strong sense of movement and depth.
Common Leading Lines in Landscapes:
- Rivers and streams – Guide the eye naturally toward the horizon.
- Roads and trails – Create a sense of journey and exploration.
- Fences and walls – Lead the eye to a focal point.
Position these lines so that they direct attention toward key areas of interest in the frame.
5. Adjust Camera Settings for Maximum Sharpness
Using the right camera settings ensures your landscapes are crisp and detailed.
Recommended Camera Settings for Landscapes:
- Aperture: f/8 to f/16 for deep depth of field.
- ISO: Keep it at 100-200 for minimal noise.
- Shutter Speed: Use a tripod for long exposures (1 second or more) to capture movement in water or clouds.
Using a tripod helps eliminate camera shake, especially in low-light conditions.
6. Capture Movement for Dynamic Landscapes
Adding motion to your landscapes can make them more engaging and dramatic.
Techniques to Capture Motion:
- Waterfalls and Rivers: Use a slow shutter speed (1-5 seconds) for a silky smooth effect.
- Clouds: Use long exposure photography (10-30 seconds) for soft, flowing cloud movement.
- Waves on a Beach: Capture the retreating water with a slow shutter speed for an artistic look.
A neutral density (ND) filter can help you achieve longer exposures even in bright conditions.
7. Experiment with Different Perspectives and Angles
Most people shoot landscapes from eye level, but trying different angles can add uniqueness to your photos.
Creative Perspective Ideas:
- Low-angle shots – Make mountains and trees look more dramatic.
- High vantage points – Capture sweeping panoramic views.
- Close-ups – Focus on detailed textures, like cracked earth or mossy rocks, to add variety.
Changing your perspective creates fresh and unique compositions.
8. Use a Polarizing Filter for Richer Colors
A polarizing filter is a must-have accessory for landscape photographers. It helps:
- Reduce reflections on water and wet surfaces.
- Enhance blue skies and make clouds stand out.
- Increase color saturation in foliage and landscapes.
Simply rotate the filter while looking through the viewfinder to find the best effect.
9. Post-Processing to Enhance Your Landscapes
Editing can help bring out the best details and colors in your landscape photos.
Best Editing Adjustments for Landscapes:
- Increase contrast to make details pop.
- Adjust white balance for natural color tones.
- Enhance vibrancy and saturation without over-processing.
- Sharpen foreground elements for a more detailed look.
Popular editing tools like Adobe Lightroom, Photoshop, or Snapseed allow fine-tuning without making images look artificial.
10. Plan Your Shots for the Best Results
Great landscape photography requires planning. Researching locations and conditions in advance can help you capture the best possible shot.
How to Plan Your Landscape Photography Trip:
- Check the weather forecast – Clear skies or dramatic clouds? Choose what suits your vision.
- Use apps like PhotoPills to track sun and moon positions.
- Scout locations in advance to find the best compositions.
The more you plan, the better your results will be.
Final Thoughts
Landscape photography is about capturing the beauty, depth, and emotion of nature. By mastering composition techniques, choosing the right lighting, and using proper camera settings, you can create landscapes with depth and impact that captivate viewers.
The key is to experiment, explore different perspectives, and practice consistently. Each landscape offers a new opportunity to tell a story through your lens.