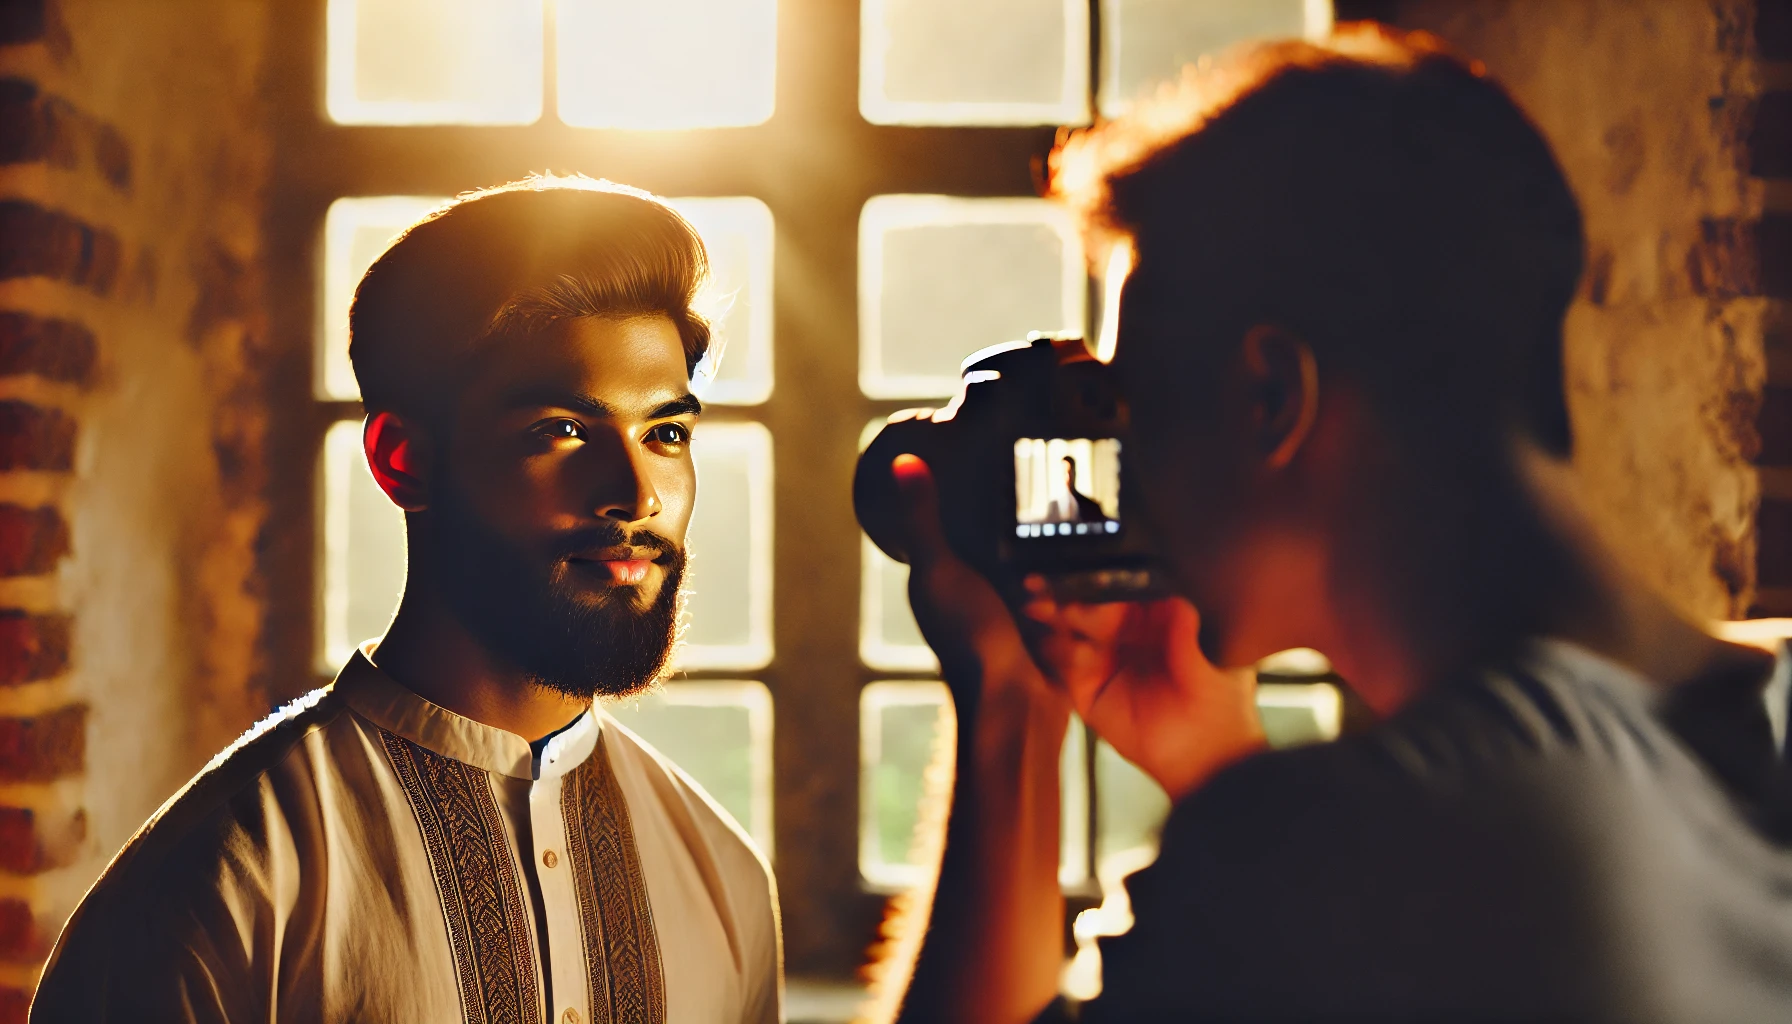
Capturing stunning portraits is not just about having a high-end camera or a skilled model—it’s about understanding and mastering light. Among all the lighting options available, natural light stands out as one of the most beautiful and accessible tools for portrait photography. It provides a soft, organic quality that enhances skin tones, creates depth, and brings a sense of authenticity to your images.
One of the greatest advantages of natural light is its availability. Unlike artificial lighting, which requires extra equipment and setup, natural light is free and ever-changing, offering endless creative possibilities. Whether you’re shooting during the golden hour for a warm, dreamy effect or using diffused light on an overcast day for a soft and even glow, natural light allows for dynamic and visually appealing portraits.
Additionally, natural light helps create a more comfortable and relaxed atmosphere for your subject. Without the distraction of bright flashes or bulky lighting setups, people tend to feel more at ease, leading to more natural expressions and emotions.
In this guide, we’ll explore how to make the most of natural light to elevate your portrait photography, from choosing the best time of day to positioning your subject and optimizing your camera settings. Let’s dive in!
Understanding Natural Light
Natural light is one of the most powerful tools in portrait photography. It can dramatically impact the mood, tone, and overall feel of an image. Understanding how different types of natural light affect your subject will help you make informed decisions and capture stunning portraits.
Different Types of Natural Light
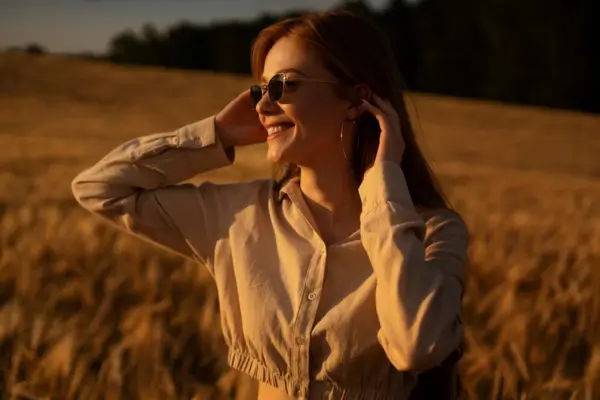
Golden Hour (Warm and Soft Light)
The golden hour refers to the period shortly after sunrise and just before sunset. During this time, the sun is low in the sky, casting a warm, soft, and diffused light that flatters the skin and enhances the subject’s features. Shadows are long and gentle, creating a beautiful, natural glow that adds depth and dimension to portraits. This is one of the most sought-after lighting conditions for photographers.
Best Uses:
- Dreamy, romantic, and warm portraits
- Enhancing skin tones with a golden glow
- Creating soft shadows for a natural look
Blue Hour (Cool and Moody Light)
The blue hour occurs just before sunrise and after sunset, when the sun is below the horizon. The sky takes on a cool, blueish hue, producing a moody and ethereal atmosphere. The light is soft and even, eliminating harsh shadows while giving portraits a unique cinematic feel.
Best Uses:
- Creating mysterious or dramatic portraits
- Capturing silhouettes with a deep blue sky
- Achieving a cool, elegant aesthetic
Midday Light (Harsh Shadows and Contrast)
Shooting at midday, when the sun is directly overhead, presents challenges due to the intense brightness and harsh shadows. This lighting condition can create unflattering shadows under the eyes and nose, making it difficult to achieve balanced exposures. However, when used creatively, midday light can add drama and contrast to portraits.
Best Uses:
- High-contrast, bold portrait photography
- Using shadows for creative effects
- Experimenting with black and white photography
Tips for Managing Harsh Light:
- Seek shaded areas to soften the light
- Use a reflector to bounce light onto the subject’s face
- Position the subject so the sun is slightly behind them for a backlit effect
Overcast Light (Soft and Diffused)
On cloudy or overcast days, the clouds act as a natural diffuser, spreading sunlight evenly across the scene. This results in soft, shadow-free lighting that is ideal for portrait photography. Unlike direct sunlight, overcast light reduces harsh contrasts, making it easier to capture even skin tones and rich details.
Best Uses:
- Natural and flattering skin tones
- Creating a soft, moody atmosphere
- Capturing detail without harsh shadows
How to Choose the Best Time of Day for Portrait Photography
The best time of day for portrait photography depends on the mood and style you want to achieve:
- For warm, flattering light: Shoot during golden hour for soft, glowing portraits.
- For a dramatic and cinematic feel: Try shooting during blue hour to create moody and atmospheric images.
- For high-contrast or artistic shots: Midday can work well if you manage shadows effectively.
- For soft and even lighting: Overcast days are perfect for capturing natural and balanced portraits.
By understanding how different types of natural light influence your photos, you can adapt to various conditions and make the most of the available light to capture stunning portraits.

Choosing the Right Location
Selecting the right location is crucial for capturing stunning natural light portraits. The environment directly influences how light falls on your subject, affecting the overall mood, contrast, and quality of your photos. By understanding how different locations impact lighting, you can create beautifully lit portraits with minimal effort.
How the Environment Affects the Quality of Light
Different environments produce varying types of natural light. Open spaces, such as fields or beaches, provide even and soft lighting during golden hour but can create harsh shadows at midday. Urban settings, with reflective surfaces like buildings and streets, can help diffuse and redirect light, offering unique lighting conditions. Forested areas or parks, on the other hand, filter sunlight through tree canopies, creating a softer, more diffused light with natural patterns and textures.
Best Locations for Natural Light Portraits
If you want to make the most of natural lighting, consider the following locations:
- Parks and Gardens – Trees and foliage help soften direct sunlight, creating a natural, diffused glow.
- Open Fields and Beaches – Perfect for golden hour portraits, offering an airy and natural aesthetic.
- Urban Areas with Reflective Surfaces – Light bouncing off buildings, sidewalks, and glass windows can provide soft, even illumination.
- Near Large Windows – Indoor portraits near large windows allow you to use natural light creatively without dealing with outdoor elements.
- Under Shade or Covered Areas – Porches, archways, and tunnels provide a natural softbox effect, reducing harsh shadows.
Using Natural Elements as Light Modifiers
To further control the quality of natural light, take advantage of existing elements in your surroundings:
- Walls & Buildings – Light-colored surfaces reflect and diffuse sunlight, reducing harsh shadows and creating a softer effect.
- Trees & Foliage – Act as natural diffusers, breaking up direct sunlight and creating a gentle, artistic glow.
- Windows & Doorways – Offer beautiful directional light, perfect for highlighting facial features and adding depth.
- Water & Glass – Can create interesting reflections and add a dynamic element to your portraits.
By choosing the right location and understanding how natural elements influence light, you can elevate your portrait photography and capture beautifully lit images without the need for artificial lighting.
Positioning Your Subject
Lighting plays a crucial role in portrait photography, and knowing how to position your subject relative to the light source can make a significant difference in the final image. Below are three key lighting techniques and how they impact your portraits.
Front Lighting vs. Side Lighting vs. Backlighting
- Front Lighting: When the light source is directly in front of your subject, it creates even illumination with minimal shadows. This type of lighting is great for achieving a smooth and flattering look, especially for beauty portraits. However, it can sometimes make the image appear flat, so adding slight side angles or using a reflector can enhance depth.
- Side Lighting: Light coming from the side creates depth, dimension, and contrast in a portrait. This technique is often used for dramatic effects, as it highlights textures and facial contours. If the shadows are too strong, you can soften them with a reflector or by adjusting the subject’s position slightly.
- Backlighting: When the light source is behind your subject, it creates a beautiful halo effect and can give the portrait a dreamy, ethereal quality. This technique works especially well during golden hour. To prevent underexposure, adjust your camera settings to properly expose the subject’s face or use a reflector or fill flash to balance the light.
Using Reflectors and Natural Surfaces to Bounce Light
Reflectors are a simple yet powerful tool for manipulating natural light. A white, silver, or gold reflector can bounce light back onto your subject, reducing harsh shadows and creating a more balanced exposure. If you don’t have a reflector, you can use natural surfaces like white walls, sidewalks, or even a light-colored piece of clothing to achieve a similar effect.
- Silver reflectors enhance brightness and contrast, great for creating a high-energy feel.
- Gold reflectors add warmth, ideal for sunset portraits.
- White reflectors produce soft, natural-looking light without altering color tones.
Experiment with different angles to see how light reflects onto the subject’s face for the most flattering effect.
The Role of Catchlights in Creating Expressive Eyes
Catchlights are the bright reflections of the light source in a subject’s eyes, adding life and depth to a portrait. Without catchlights, eyes can appear dull or lifeless. Positioning your subject so that natural light reflects off their eyes—whether from a window, the sky, or a reflector—will create that extra sparkle that makes a portrait more engaging.
A good rule of thumb is to ensure the catchlight is positioned at the 10 o’clock or 2 o’clock mark in the subject’s eyes for a natural and appealing look. If you’re outdoors, adjusting the angle of the face or using a reflector can help enhance this effect.
By mastering these lighting techniques, you can take full advantage of natural light to create stunning, well-lit portraits with depth and expression. Experiment with different angles and modifiers to find the perfect lighting setup for your subject.
Camera Settings for Natural Light Portraits
Capturing stunning portraits with natural light requires an understanding of the right camera settings. Unlike artificial lighting, natural light changes constantly, so adjusting your settings accordingly will help you achieve the best results.
Recommended Aperture, ISO, and Shutter Speed
- Aperture (f-stop): A wide aperture (low f-number) like f/1.8 to f/2.8 is ideal for natural light portraits. This creates a beautiful shallow depth of field, blurring the background and keeping the subject in sharp focus. If you’re photographing multiple people or want more of the background in focus, you can increase the aperture to f/4 or higher.
- ISO: Keeping the ISO as low as possible (e.g., ISO 100–400) will ensure minimal noise and maintain image quality. In low-light conditions, you may need to raise the ISO (e.g., ISO 800–1600), but be mindful of noise.
- Shutter Speed: A fast shutter speed (e.g., 1/200s or faster) is essential to avoid motion blur, especially if you’re shooting handheld. If the subject is stationary and lighting conditions are low, you can lower the shutter speed (e.g., 1/100s), but using a tripod may be necessary to avoid camera shake.
Using Manual vs. Auto Settings
- Manual Mode (M): If you’re comfortable with camera settings, shooting in manual mode gives you full control over exposure. This allows you to balance aperture, shutter speed, and ISO to get the exact look you want.
- Aperture Priority Mode (A/Av): If you’re focusing on depth of field but want the camera to adjust the shutter speed automatically, Aperture Priority mode is a great option. Set your desired aperture, and the camera will adjust the shutter speed accordingly.
- Auto Mode: While convenient, auto mode may not always choose the best settings for natural light portraits. The camera might raise the ISO too high or select an aperture that doesn’t create the desired background blur. However, semi-auto modes like Aperture Priority or Shutter Priority can be good compromises.
White Balance Adjustments for Different Lighting Conditions
White balance ensures that the colors in your image appear natural, compensating for the color temperature of the light source. Here are some recommended settings for different lighting conditions:
- Daylight: Use the Daylight (Sunny) preset for shooting in direct sunlight.
- Cloudy/Overcast: The Cloudy preset adds warmth to compensate for the cooler light.
- Shade: The Shade preset further warms up the image to counteract the bluish tint of shaded areas.
- Golden Hour: The Daylight or Cloudy preset works well to enhance the warm tones of the golden hour.
- Custom White Balance: If you want more control, you can manually set the white balance using a gray card or adjust it later in post-processing. Shooting in RAW format also allows for easy white balance corrections without losing image quality.
By mastering these camera settings, you can create stunning natural light portraits with the perfect exposure, depth, and color balance. Experiment with different settings to find what works best for your style and lighting conditions!
Posing and Composition Tips
How to Create a Natural and Flattering Pose
One of the keys to capturing stunning portraits is ensuring your subject looks comfortable and natural. Here are a few tips to achieve this:
- Encourage movement – Instead of rigid, forced poses, ask your subject to walk, adjust their hair, or interact with their surroundings. This creates a more dynamic and authentic feel.
- Guide facial expressions – A slight smile or a relaxed gaze can make a huge difference. Engage with your subject to bring out genuine emotions.
- Use angles to your advantage – Positioning the face slightly away from the camera (instead of straight-on) can create depth and a more flattering look.
- Mind the posture – Encourage a relaxed posture with slightly bent arms and a natural curve in the body to avoid stiffness.
Rule of Thirds and Leading Lines for Impactful Composition
Strong composition is essential for visually striking portraits. Two key techniques to keep in mind are:
- Rule of Thirds – Imagine your frame divided into nine equal parts using two horizontal and two vertical lines. Position your subject’s eyes along one of the top intersections to create a balanced and engaging composition.
- Leading Lines – Use natural lines in the environment (such as pathways, fences, or even the direction of light) to draw attention to your subject. This technique adds depth and guides the viewer’s eye toward the focal point.
Working with the Background to Avoid Distractions
The background can make or break a portrait. To ensure your subject remains the focus:
- Opt for simple, uncluttered backgrounds – A blurred background (achieved with a wide aperture) helps keep the subject in focus.
- Watch for distractions – Be mindful of elements like poles, signs, or people in the background that could take attention away from your subject.
- Use framing elements – Natural elements like doorways, windows, or foliage can frame your subject and add visual interest without clutter.
By combining these posing and composition techniques, you can create natural, well-balanced portraits that captivate the viewer.
Post-Processing Techniques
Capturing a stunning portrait with natural light is just the first step. Post-processing helps enhance the image while maintaining the natural beauty of the subject. Here’s how you can refine your portraits using Lightroom or Photoshop.
Enhancing Natural Light in Lightroom or Photoshop
Natural light can create beautiful effects, but sometimes it needs a little boost. Here are some key adjustments to enhance the light in your images:
- Increase Exposure (if needed): If the image is slightly underexposed, gently raise the exposure to brighten the subject while avoiding overexposure.
- Adjust Highlights and Shadows: Reduce highlights to recover details in bright areas and lift shadows to bring out details in darker parts of the image.
- Use the Tone Curve: The tone curve allows for more precise control over brightness and contrast. A slight S-curve can add depth and dimension to your portrait.
- Add a Subtle Glow: In Photoshop, use the “Soft Light” blend mode with a low-opacity brush to paint soft highlights on the subject’s face, giving a dreamy look.
Adjusting Exposure, Contrast, and White Balance
Proper adjustments can make a significant difference in the final look of your portrait:
- Exposure: Ensure that the skin tone is correctly exposed by checking the histogram. Avoid excessive brightness that washes out details.
- Contrast: Boost contrast slightly to create depth, but don’t overdo it—portraits should have a soft, natural feel.
- White Balance: Adjust temperature and tint to achieve natural skin tones. If the image looks too cool or warm, fine-tune it using the White Balance tool in Lightroom or Photoshop.
Retouching Skin While Keeping a Natural Look
One of the most critical steps in post-processing is skin retouching. The goal is to enhance, not overly smooth or alter the subject’s appearance.
- Remove Blemishes: Use the Spot Healing Brush or the Clone Stamp tool in Photoshop to remove temporary imperfections without affecting the skin texture.
- Frequency Separation: This advanced technique helps separate texture from color, allowing you to smooth skin tones while preserving natural details.
- Dodge and Burn: Subtly lighten (dodge) highlights and darken (burn) shadows to enhance facial features and add dimension without making the image look artificial.
- Reduce Redness and Uneven Tones: Use selective color adjustments to correct skin tones and create a more polished but natural look.
After making these adjustments, step back and review your work. Avoid over-processing—portraits should still look like real people, not airbrushed dolls. Subtle refinements can elevate a natural light portrait into a stunning image while maintaining authenticity.

Common Mistakes to Avoid
Even with the best intentions, capturing stunning portraits with natural light can be challenging. Here are some common mistakes photographers make and how to avoid them.
1. Overexposed or Underexposed Images
One of the biggest challenges of working with natural light is controlling exposure. Overexposed images lose detail in the highlights, making bright areas appear washed out, while underexposed images can look too dark and lack detail in the shadows.
How to Fix It:
- Use your camera’s histogram to ensure a balanced exposure.
- Enable exposure compensation (+/- EV) to fine-tune brightness levels.
- Adjust your ISO, shutter speed, and aperture—a lower ISO and faster shutter speed can help prevent overexposure in bright conditions.
- If shooting in RAW, you’ll have more flexibility to recover details in post-processing.
2. Harsh Shadows and How to Fix Them
Direct sunlight, especially during midday, can create harsh, unflattering shadows on your subject’s face, emphasizing imperfections and creating an overly dramatic look.
How to Fix It:
- Shoot during golden hour (early morning or late afternoon) for softer light.
- Find open shade, such as under a tree or near a building, to diffuse strong sunlight.
- Use a reflector (or a light-colored surface like a wall) to bounce light back onto the subject’s face and fill in shadows.
- Try backlighting—position your subject with the sun behind them and use a reflector or fill light to brighten their face.
3. Relying Too Much on Editing Instead of Good Lighting Techniques
Post-processing is a great tool for enhancing portraits, but it shouldn’t be a crutch to fix poor lighting. Relying too much on editing can lead to unnatural-looking images, loss of detail, and excessive noise.
How to Fix It:
- Focus on getting the best possible shot in-camera rather than fixing issues later.
- Experiment with natural reflectors like white walls, sand, or light-colored clothing to improve lighting.
- Use manual settings to control exposure and avoid over-reliance on auto mode.
- If editing is necessary, keep adjustments subtle and realistic—enhance what’s already good rather than compensating for bad lighting.
By being mindful of these common mistakes and applying these solutions, you’ll be able to capture beautiful, well-lit portraits that require minimal editing while maintaining a natural and professional look.
Conclusion
Capturing stunning portraits with natural light is all about understanding how light behaves and using it to your advantage. By choosing the right time of day, positioning your subject strategically, and adjusting your camera settings accordingly, you can achieve beautiful, well-lit portraits without the need for artificial lighting. Additionally, paying attention to composition, posing, and post-processing will help enhance the final results.
The key to mastering natural light photography is practice. Experiment with different lighting conditions, angles, and locations to see how they affect your images. Don’t be afraid to make mistakes—each session is an opportunity to learn and refine your skills.
Now it’s your turn! Grab your camera, head outside, and start capturing portraits using natural light. Share your best shots and experiences with fellow photographers, and keep pushing yourself to improve. The more you experiment, the more confident you’ll become in working with natural light to create stunning portraits. Happy shooting! 📸✨