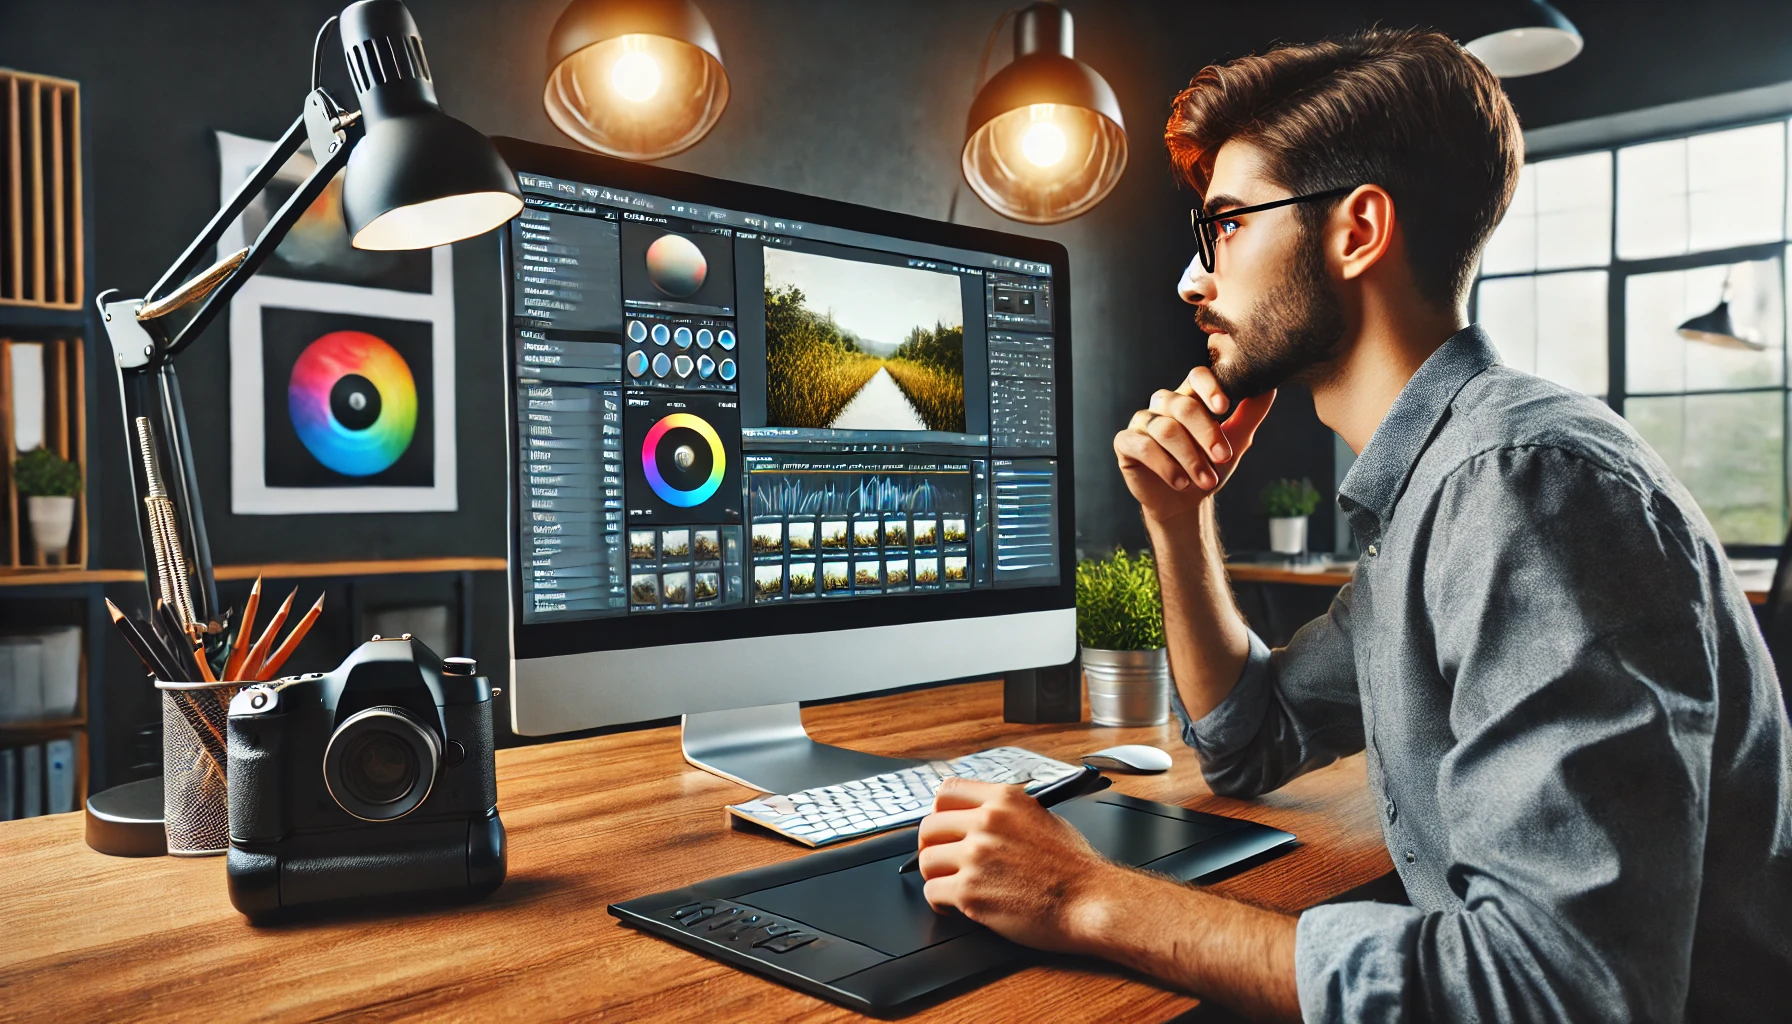
When it comes to professional photography, shooting in RAW format is a game-changer. Unlike JPEG files, which are compressed and processed in-camera, RAW files retain all the unprocessed image data captured by your camera’s sensor. This results in greater flexibility during post-processing, allowing photographers to fine-tune every detail without losing quality.
One of the main advantages of RAW photos is their ability to preserve a wider dynamic range and more color information. This means you can recover lost details in shadows and highlights, adjust white balance with precision, and apply edits without degrading the image. In contrast, JPEG files apply compression and automatic adjustments, limiting your ability to make extensive corrections.
To maximize the quality of your RAW images, post-processing is essential. Editing allows you to enhance exposure, contrast, colors, and sharpness, bringing out the full potential of your photos. Without proper editing, RAW files can often appear dull and flat, as they are designed to be processed rather than used straight out of the camera.
There are several powerful RAW editing software options available, each offering unique features for photographers of all levels. Some of the most popular choices include:
- Adobe Lightroom – A user-friendly and comprehensive tool with advanced editing and cataloging features.
- Adobe Photoshop – Ideal for detailed retouching and advanced manipulation.
- Capture One – Known for its exceptional color grading and professional workflow.
- DxO PhotoLab – Offers excellent noise reduction and optical corrections.
- ON1 Photo RAW – A versatile all-in-one editing solution with AI-powered tools.
Choosing the right software depends on your needs, workflow, and level of expertise. Regardless of the program you use, learning how to edit RAW photos effectively will help you achieve maximum image quality and bring your creative vision to life.
Understanding RAW Files
What is a RAW file?
A RAW file is an unprocessed image file that contains all the data captured by a camera’s sensor. Unlike JPEGs, which are compressed and processed in-camera, RAW files preserve every detail, allowing for greater flexibility in post-processing. Think of a RAW file as a digital negative—it requires editing to bring out its full potential.
Advantages of Shooting in RAW vs. JPEG
Shooting in RAW offers several benefits over JPEG, including:
- Higher Image Quality – RAW files retain all image data, leading to better sharpness, dynamic range, and detail.
- Greater Flexibility in Editing – Adjustments to exposure, white balance, and colors can be made without significant loss of quality.
- Better Color Depth – RAW files store more color information, making them ideal for professional editing and printing.
- Non-Destructive Editing – Unlike JPEGs, RAW files do not degrade with multiple edits and saves.
However, RAW files take up more storage space and require processing before they can be shared or printed.
Why RAW Files Require Editing
Because RAW files are unprocessed, they often look flat and dull when first opened. Unlike JPEGs, which cameras automatically enhance with sharpening, contrast, and color adjustments, RAW images need manual tweaking to reach their full potential. Editing RAW files allows photographers to:
- Correct exposure and white balance for natural-looking images.
- Enhance details and sharpness without introducing artifacts.
- Adjust colors to achieve the desired artistic effect.
- Reduce noise and fix optical distortions.
By editing RAW files, photographers can maximize the quality of their images, ensuring the best possible results in both digital and print formats.
Choosing the Right Editing Software
When working with RAW photos, selecting the right editing software is crucial for achieving professional-quality results. The ideal software should offer advanced editing tools, a user-friendly interface, and efficient workflow management. Let’s explore some of the most popular RAW editing programs and what to look for when choosing the best one for your needs.
Overview of Popular RAW Editing Software
There are several powerful RAW editors available, each catering to different skill levels and preferences. Here are some of the most widely used options:
- Adobe Lightroom – A favorite among photographers for its intuitive interface and powerful non-destructive editing capabilities.
- Adobe Photoshop – Ideal for detailed retouching, compositing, and advanced image manipulation.
- Capture One – Preferred by professionals for its superior color grading, tethering capabilities, and fine-tuned RAW processing.
- DxO PhotoLab – Known for its excellent noise reduction and lens correction tools.
- ON1 Photo RAW – Offers a mix of Lightroom-style adjustments with advanced layering features.
- Affinity Photo – A budget-friendly alternative to Photoshop with many similar features.
Key Features to Look for in a RAW Editor
When choosing RAW editing software, consider the following essential features:
- Non-Destructive Editing – The ability to make adjustments without permanently altering the original file.
- Comprehensive Color Control – Tools for adjusting white balance, HSL (Hue, Saturation, Luminance), and tone curves.
- Exposure and Contrast Adjustments – Advanced controls for highlights, shadows, and midtones.
- Noise Reduction and Sharpening – Features that enhance image clarity while minimizing grain.
- Lens Corrections and Distortion Fixing – Automatic or manual tools for correcting chromatic aberration and perspective distortions.
- Batch Processing – The ability to edit multiple images efficiently.
- Tethered Shooting Support – A must-have for studio photographers who need real-time image review.
- Seamless Workflow Integration – Compatibility with other software and cloud storage for smooth file management.
Comparison: Lightroom vs. Photoshop vs. Capture One
Each of these software options has its strengths, depending on your workflow and editing needs:
| Feature | Adobe Lightroom | Adobe Photoshop | Capture One |
|---|---|---|---|
| Best For | General photo editing & organization | Advanced retouching & compositing | Professional-grade color grading & tethering |
| User-Friendliness | High | Medium | Medium-High |
| Non-Destructive Editing | Yes | No (unless using Smart Objects) | Yes |
| Layer-Based Editing | No | Yes | Limited |
| Batch Processing | Yes | Limited | Yes |
| Color Control | Good | Excellent | Outstanding |
| Lens Corrections | Yes | Yes | Yes |
| Tethering Support | Limited | No | Excellent |
| Subscription Model | Yes | Yes | No (one-time purchase available) |
Which One Should You Choose?
- Choose Lightroom if you need an all-in-one solution for organizing and editing RAW files quickly.
- Choose Photoshop if you require precise retouching, compositing, and extensive creative control.
- Choose Capture One if you are a professional photographer looking for superior color grading and tethering options.
Ultimately, the best software depends on your workflow and editing requirements. Many photographers use a combination of Lightroom and Photoshop to get the best of both worlds. If you are looking for a Lightroom alternative with high-end RAW processing, Capture One is an excellent choice.

Essential RAW Editing Steps for Maximum Quality
Editing RAW photos is essential to bring out their full potential. Below are the key steps to ensure maximum image quality.
Adjusting White Balance
Importance of Color Accuracy
White balance ensures that colors appear natural and true to life. An incorrect white balance can result in a color cast that affects the overall look of the image.
How to Use Temperature and Tint Sliders
- Temperature Slider: Adjusts the warmth or coolness of the image. Move it right for warmer tones (yellow/orange) and left for cooler tones (blue).
- Tint Slider: Balances green and magenta hues to correct any unwanted color shifts.
- Use the eyedropper tool to select a neutral gray area for automatic white balance correction.
Correcting Exposure and Contrast
Using Histogram and Exposure Sliders
The histogram is a crucial tool for evaluating exposure. Use the following adjustments:
- Exposure: Increases or decreases the overall brightness.
- Contrast: Enhances the difference between light and dark areas for more depth.
Balancing Highlights, Shadows, Whites, and Blacks
- Highlights: Reduce for overexposed areas.
- Shadows: Lift to reveal details in dark areas.
- Whites & Blacks: Fine-tune the brightest and darkest parts of the image for better dynamic range.
Enhancing Colors
Adjusting Vibrance and Saturation
- Vibrance: Increases intensity in muted colors while preserving skin tones.
- Saturation: Boosts all colors equally, which can sometimes lead to unnatural results.
Using HSL (Hue, Saturation, and Luminance) Adjustments
- Hue: Adjusts the shade of individual colors.
- Saturation: Controls the intensity of specific colors.
- Luminance: Changes the brightness of particular colors for better balance.
Sharpening and Noise Reduction
Best Practices for Sharpening RAW Images
- Increase sharpness carefully to avoid artificial-looking details.
- Use the Masking Slider in Lightroom to apply sharpening only to edges.
Reducing Noise While Preserving Details
- Increase Luminance Noise Reduction to remove graininess.
- Use Color Noise Reduction to fix color speckles.
- Apply noise reduction selectively to avoid loss of detail.
Lens Corrections and Croppin
Fixing Distortion and Chromatic Aberration
- Enable Lens Corrections in your editing software to correct barrel and pincushion distortion.
- Use Chromatic Aberration Removal to eliminate color fringing.
Improving Composition Through Cropping and Straightening
- Crop to enhance framing and remove distractions.
- Use the Straighten Tool to correct tilted horizons.
Advanced Techniques (Optional)
Using Curves and Tone Mapping
- The Curves Tool allows precise control over brightness and contrast.
- Adjust RGB Curves to refine color tones.
Applying Local Adjustments with Masks and Brushes
- Use Radial and Graduated Filters for selective exposure and color adjustments.
- Utilize Adjustment Brushes for fine-tuned edits in specific areas.
By following these essential steps, you can transform your RAW photos into high-quality, professional images that stand out. Experiment with different techniques to develop your unique editing style!

4. Exporting for Maximum Quality
Once you’ve perfected your RAW photo edits, the final step is exporting your image with the best settings to maintain quality. The right export choices depend on the intended use, whether for printing, web display, or social media. Below, we’ll cover the optimal formats, settings, and color management techniques to ensure your images look their best.
Choosing the Right Format (JPEG, TIFF, PNG)
Selecting the appropriate file format is crucial, as each one serves a different purpose:
- JPEG (Joint Photographic Experts Group) – Best for web use and social media due to its small file size and wide compatibility. However, JPEG compression reduces quality, so it’s not ideal for archiving or high-end printing.
- TIFF (Tagged Image File Format) – Preferred for professional printing and archival storage because it maintains full image quality without compression. TIFF files support layers and transparency, making them suitable for further editing.
- PNG (Portable Network Graphics) – Ideal for web graphics where transparency is needed. PNG files use lossless compression, preserving quality better than JPEG, but they are larger in size.
Best Export Settings for Different Uses
The correct export settings depend on how the image will be displayed or printed:
- For Web and Social Media
- Format: JPEG (or PNG for images with transparency)
- Resolution: 72 PPI (pixels per inch)
- Quality: 80-90% (to balance file size and clarity)
- Color Space: sRGB (to ensure colors display correctly on most screens)
- Dimensions: Resize based on platform requirements (e.g., 1080px wide for Instagram posts)
- For High-Quality Printing
- Format: TIFF or High-Quality JPEG
- Resolution: 300 PPI or higher
- Quality: 100% (for JPEG)
- Color Space: Adobe RGB or ProPhoto RGB (to preserve color range)
- No resizing (export at original size for the best print quality)
- For Archival or Future Editing
- Format: TIFF (preferred) or PNG
- Resolution: Original resolution
- Quality: Lossless (no compression)
- Color Space: Adobe RGB or ProPhoto RGB
- Keep layers intact (if using Photoshop) for further edits
Maintaining Color Accuracy with Proper Color Profiles
Color accuracy is essential to ensure your images look the same across different screens and print mediums. Here’s how to manage color effectively:
- Use the Right Color Space:
- sRGB – Best for web and social media (most screens use sRGB).
- Adobe RGB – Ideal for high-quality prints, as it offers a wider color gamut.
- ProPhoto RGB – Used by professional photographers for the widest color range but requires compatible monitors and printers.
- Calibrate Your Monitor: Regularly calibrate your screen using a calibration tool (like X-Rite or Datacolor) to ensure accurate color representation.
- Soft Proofing Before Printing: Use soft proofing in Lightroom or Photoshop to preview how colors will appear in print and adjust accordingly.
Exporting your RAW photos with the correct settings ensures they maintain maximum quality, whether viewed online or in print. Choosing the right file format, resolution, and color profile will help your images look professional and consistent across different mediums. By following these best practices, you can confidently share your work while preserving its full impact.
Conclusion
Editing RAW photos is a crucial step in achieving the highest image quality possible. By following key adjustments—such as white balance correction, exposure balancing, color enhancement, sharpening, and noise reduction—you can transform a flat RAW file into a stunning final image. Additionally, utilizing lens corrections and local adjustments allows for precise refinements that bring out the best in every photo.
While mastering RAW editing takes practice, don’t be afraid to experiment with different styles and techniques. Every image is unique, and developing your own editing workflow will help you create a signature look. Try adjusting tone curves, playing with color grading, or using local adjustments to add depth and drama to your shots.
To further improve your editing skills, consider exploring online resources such as Adobe’s official tutorials, photography courses on platforms like Udemy or Skillshare, and professional photography blogs. Engaging with communities on forums and social media can also provide valuable insights and inspiration.
With the right tools and continuous learning, you’ll be able to edit RAW photos for maximum quality and elevate your photography to the next level!